Failure is not an option

The first time I was asked this question was at Toastmasters a few years ago. It was the Table Topics question.

Table Topics, if you’re not familiar, is an opportunity to speak extemporaneously on a random subject for one to two minutes. And you get approximately that much time, possibly less, to compose your answer.

I think this is the kind of question that you could ponder for quite some time.

Still my answer at the time was there is nothing I wouldn’t attempt, if I really wanted to do it, whether failure was a possibility or not.

Every time I see this question, I do think about it and I arrive at the same conclusion. I would still do something I wanted to do even if I might fail.

Lloyd Jones said

The men who try to do something and fail are infinitely better than those who try to do nothing and succeed.

And why is this?

Because with each “failure” you learn something that will make you better at whatever it is you are trying to attempt. And it may even make you a better person in general.

There are lots of quotes about failure with this perspective. Here are a few of my favorites:

There is no failure except in no longer trying.  ~Elbert Hubbard

Try again.  Fail again.  Fail better.  ~Samuel Beckett

There are defeats more triumphant than victories.  ~Michel de Montaigne

And my favorite

I have not failed.  I’ve just found 10,000 ways that won’t work.  ~Thomas Edison

So I encourage you. If there is something you want to do, don’t even bring the idea of failure into your thought process. Just do it and do it to the best of your ability. If it doesn’t turn out the way you think it should,  look for the lesson inside the experience. The lesson is invaluable and is your prize for trying.

David has some shirts that say “Failure is not an option” on them. I agree with this but, I’m sure, in a whole different way.

Because failure is not an option. How can you fail when you learn from the experience and get up and try it again, better?

🙂

Ugly, Uglier and Extra Ugly

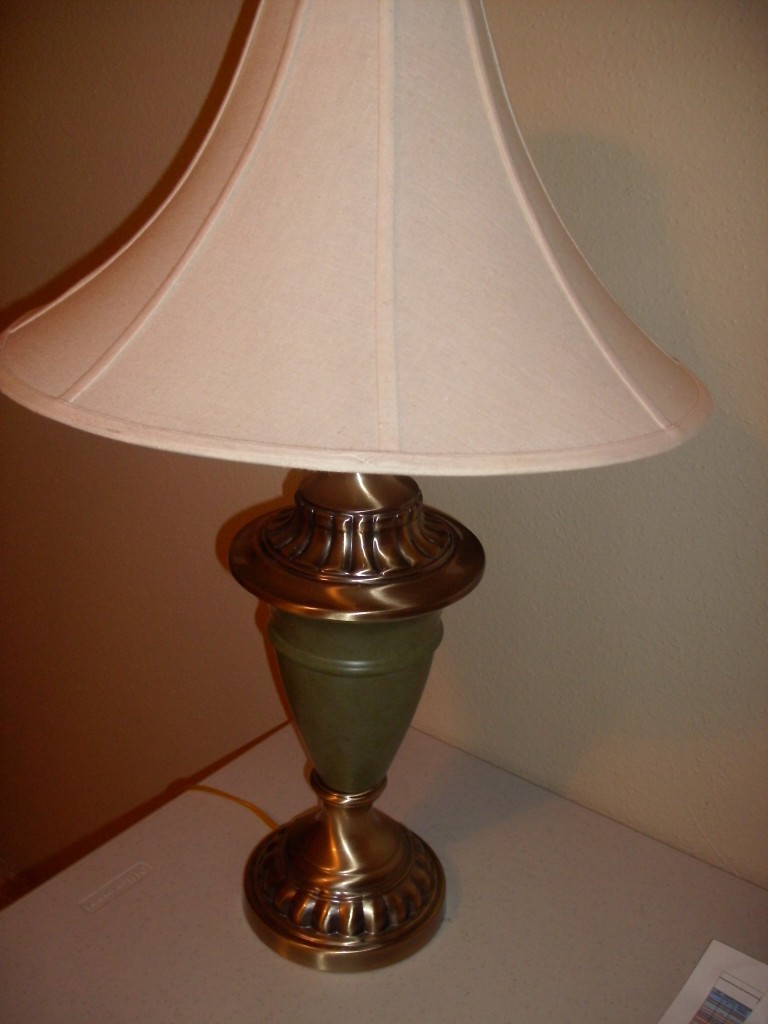
So we’re living in a corporate apartment here in Little Rock and they furnished the apartment for us. The lamps that were brought in are, in a word, extra ugly.

Okay, two words, but they really are extra ugly. And they are not color coordinated. With my personal motto being “color coordination is everything” the lamps could not be allowed to remain.

I spent so much money just outfitting the kitchen with glasses, pans, dishes, etc. that I balked when I saw the price for new lamps. Do you know they don’t sell them all together? You buy the lamp base and then the shade separately.

I guess it’s been a long time since I’ve bought a lamp.

Anyway, I decided I was going to check out the Goodwill. I had seen a big store when we were out to dinner one night.

I found two lamps.

Ugly

and

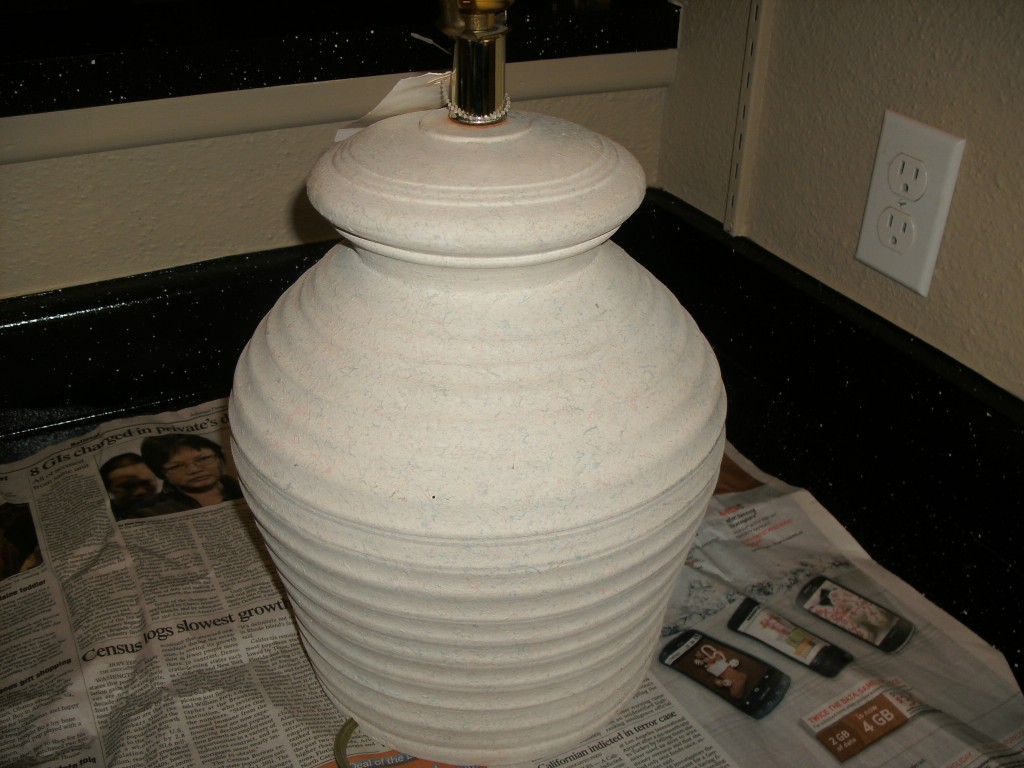
Uglier

For some reason the gal who checked me out told me she was going to give me 85% off of Uglier. I felt kinda bad for him but who am I to argue with an 85% discount? Besides, I was going to make him gorgeous.

So I paid $6.50 for my two lamps.

Then I headed to Hobby Lobby and got some paint and Wal-Mart to get lampshades and the hardware to attach them to the lamp.

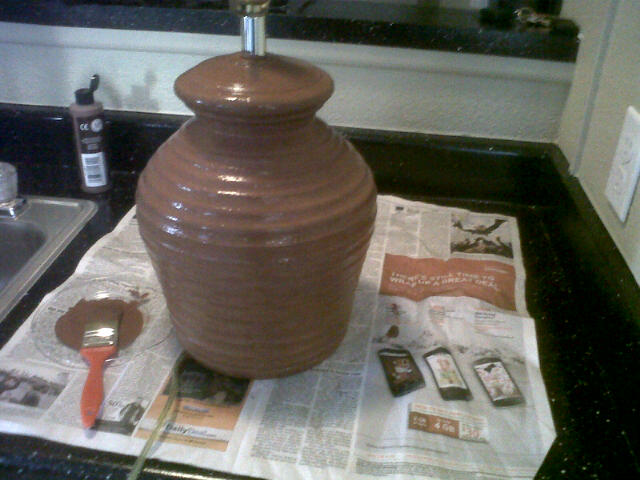
I started painting Uglier and look!

He looked like a gorgeous chocolate fountain. Yummy! 🙂

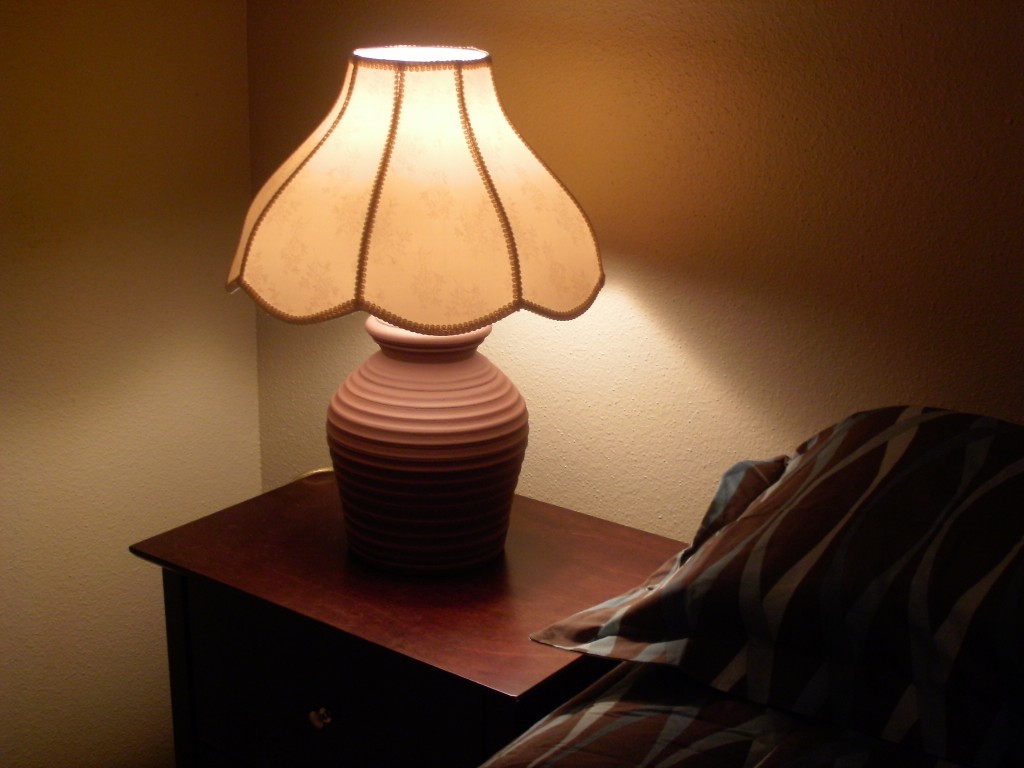
Once he was dry, he still looked gorgeous but not so much like a chocolate fountain. Doesn’t he look great by our bed?

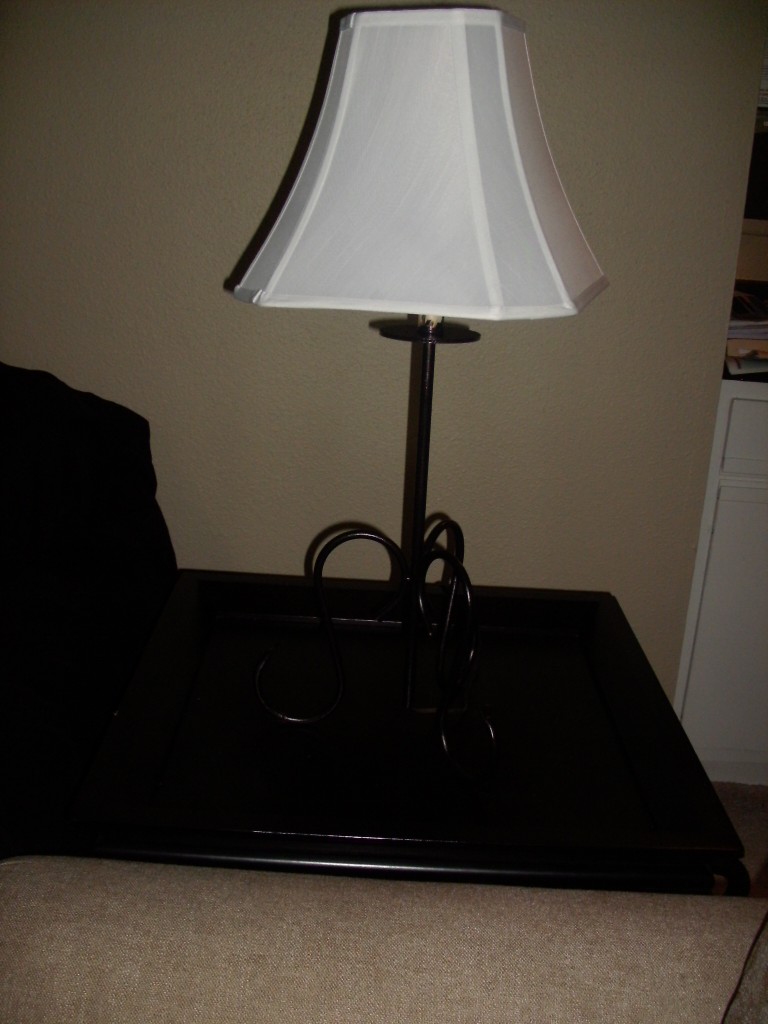
Next I had to paint Ugly. He was going to remain in the living room with the black and tan furniture. I’ll never understand why they put a green lamp in here.

Anyway, I think he turned out beautiful, too.

Now our house is color coordinated and we can sleep nights. Ahhhhh. 🙂

Daring Bakers Challenge: Basic Scones a.k.a. Basic Biscuits

Audax Artifex was our January 2012 Daring Bakers’ host. Aud worked tirelessly to master light and fluffy scones (a/k/a biscuits) to help us create delicious and perfect batches in our own kitchens!

I can’t remember how I stumbled upon the Daring Baker’s website. I think it was probably via Pinterest since that’s how so much of what I do starts anymore.

Anyway, my immediate thought was, “I want to be a daring baker!”.

So I signed up and waited, rather impatiently for January 1st and the new challenge to be released.

I was excited to see that it was Basic Scones or Basic Biscuits as we know them here in Oklahoma.

We have had our share of biscuits over the years but guess what? I’m not the biscuit maker! David is. So this was my chance to give it a whirl.

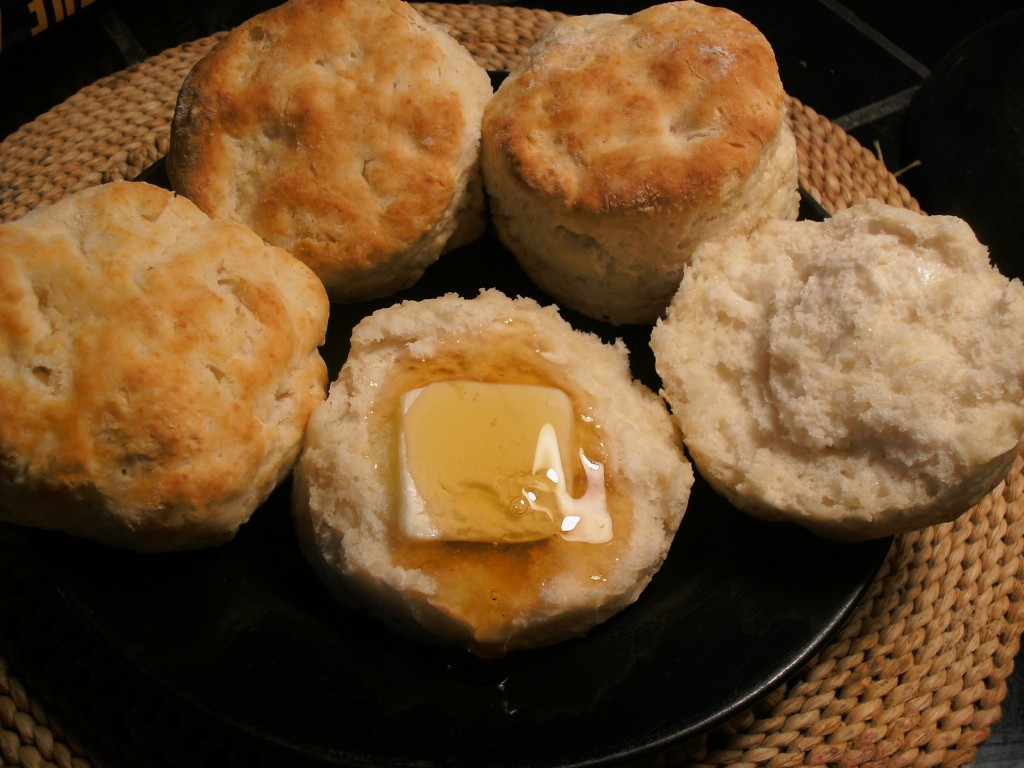
It was really easy to do and I was thrilled with the way they turned out. I think it took longer for me to read through the extended challenge instructions than it took for me to have four delicious biscuits steaming on a plate.

I did follow the instructions to achieve a layered effect by folding the dough over on itself several times. I also rested the dough in the refrigerator for about 10 minutes while the oven was preheating and I rubbed the butter as small as I could get it.

I ended up with beautiful, tall biscuts that were crispy on the outside and super soft on the inside. Delicious!
Here’s the recipe:

Basic Scones (a.k.a. Basic Biscuits)

1 cup (240 ml) (140 gm/5 oz) plain (all purpose) flour

2 teaspoons (10 ml) (10 gm) (1/3 oz) fresh baking powder

1/4 tsp (1 1/4 ml) (1 1/2 gm) salt

2 tablespoons (30 gm/ 1 oz) frozen grated butter (or a combination of lard/butter)

Approximately 1/2 cup (120 ml) cold milk

Optional 1 tablespoon milk, for glazing the tops of the scones

Directions

1. Preheat oven to very hot 475°F/240°C/gas mark 9.

2. Triple sift the dry ingredients into a large bowl. (If your room temperature is very hot refrigerate the sifted ingredients until cold.)

3. Rub the frozen grated butter (or combination of fats) into the dry ingredients until it resembles very coarse bread crumbs with some pea-sized pieces if you want flaky scones or until it resembles coarse beach sand if you want tender scones.

4. Add nearly all of the liquid at once into the rubbed-in flour/fat mixture and mix until it just forms a sticky dough (add the remaining liquid if needed). The wetter the dough the lighter the scones (biscuits) will be!

5. Turn the dough out onto a lightly floured board, lightly flour the top of the dough. To achieve an even homogeneous crumb to your scones knead very gently about 4 or 5 times (do not press too firmly) the dough until it is smooth. To achieve a layered effect in your scones knead very gently once (do not press too firmly) then fold and turn the kneaded dough about 3 or 4 times until the dough has formed a smooth texture. (Use a floured plastic scraper to help you knead and/or fold and turn the dough if you wish.)

6. Pat or roll out the dough into a 6 inch by 4 inch rectangle by about ¾ inch thick (15¼ cm by 10 cm by 2 cm thick). Using a well-floured 2-inch (5 cm) scone cutter (biscuit cutter), stamp out without twisting six 2-inch (5 cm) rounds, gently reform the scraps into another ¾ inch (2 cm) layer and cut two more scones (these two scones will not raise as well as the others since the extra handling will slightly toughen the dough).  Or use a well-floured sharp knife to form squares or wedges as you desire.

7. Place the rounds just touching on a baking dish if you wish to have soft-sided scones or place the rounds spaced widely apart on the baking dish if you wish to have crisp-sided scones. Glaze the tops with milk if you want a golden colour on your scones or lightly flour if you want a more traditional look to your scones.

8. Bake in the preheated very hot oven for about 10 minutes  (check at 8 minutes since home ovens at these high temperatures are very unreliable) until the scones are well risen and are lightly coloured on the tops. The scones are ready when the sides are set.

9. Immediately place onto cooling rack to stop the cooking process, serve while still warm.

This super easy and inexpensive treat will be a great addition to your table. Now go give it a whirl yourself. 🙂

Goo removal

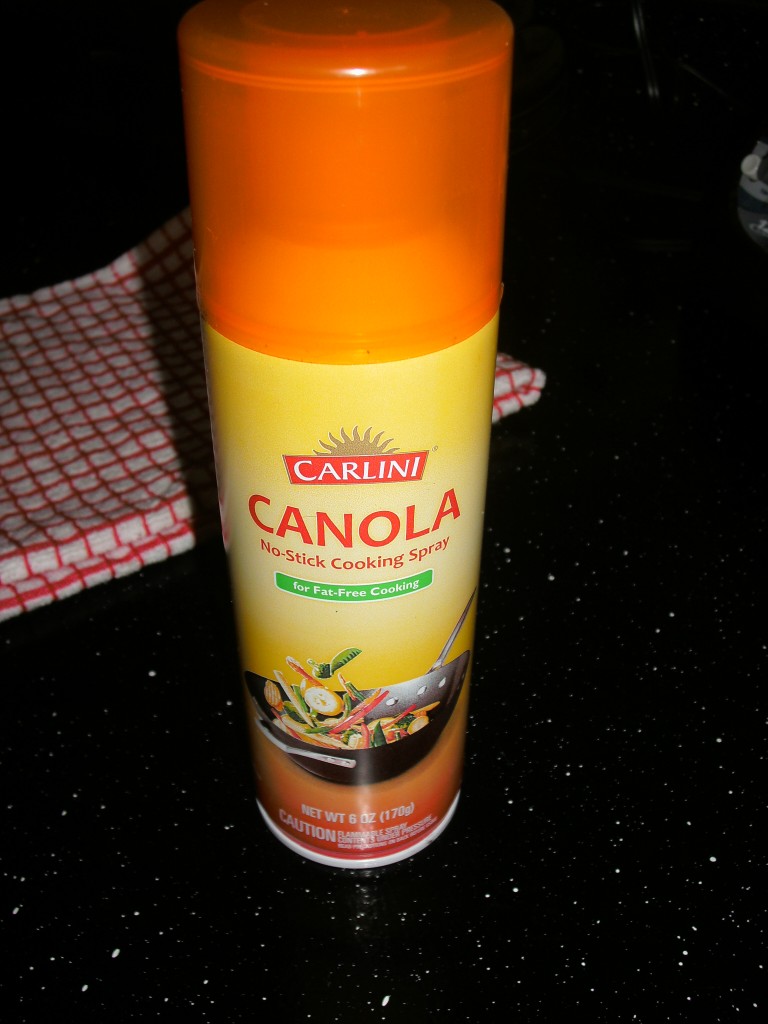
You know that sticky icky goo you get on your baking pans when you use non-stick spray? It’s really hard to get off so I try hard not to use it.

But I made my roasted carrots last night and decided to use the spray since the last time I made them, they stuck just a little bit to the glass baking dish which created a different sort of mess that needed to be scrubbed off.

I wasn’t even thinking of the icky sticky goo when I stuck the dish into the dishwasher last night. But I sure was when I grabbed it this morning as I emptied the dishwasher.

Ick!

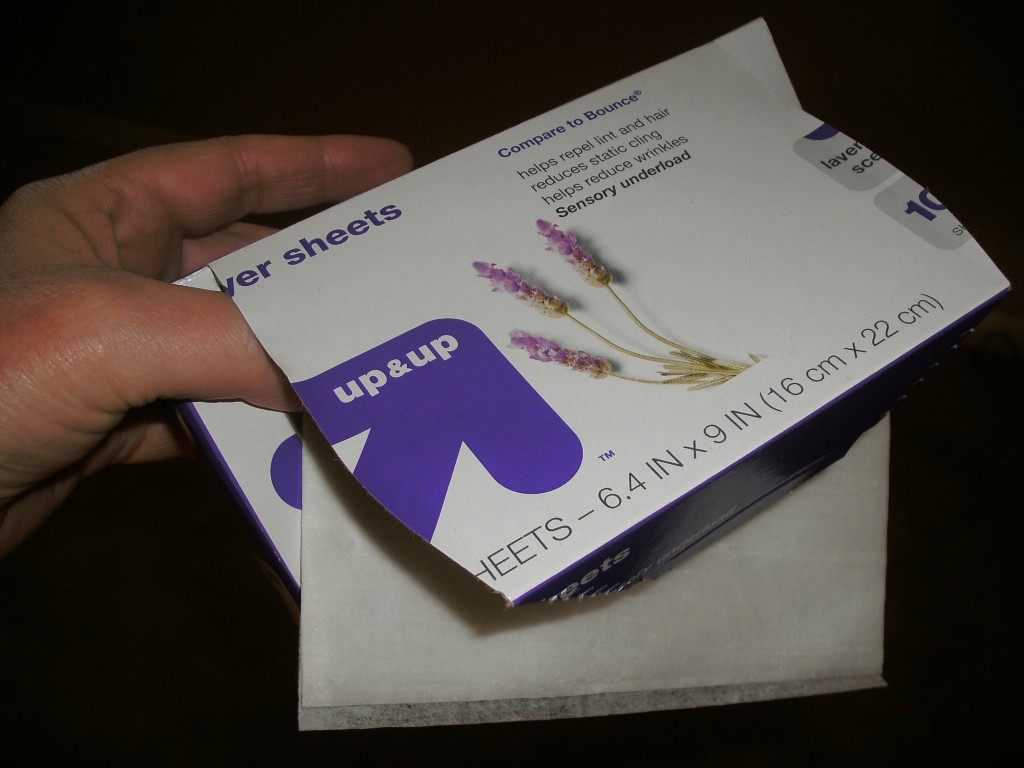
I remembered that I had seen on Pinterest that you could use a dryer sheet to remove this goo.

I didn’t repin this particular tip because I had tried something from Pinterest that didn’t work and was skeptical that this would.  I really wasn’t sure how to proceed.

I went and got a dryer sheet and started scrubbing. Nope.

I thought about it and realized that maybe it needed water since you place the dryer sheet in the dryer with wet clothes to make it work.

So I filled the sink, put the dryer sheet in, and then placed the baking dish on top of it.

I was going to let it soak for hours (hee hee) but the sink drained within a few minutes. Well, nothing ventured, nothing gained, I picked up the baking dish and, Voila! Most of the icky sticky stuff was gone!

Woo hoo!

I used the wet sheet to scrub off (easily) the remaining goo and I now have a nice clean baking dish.

How exciting is that? 😉

“Pinterest is for sad women.” Oh yeah?

A facebook friend of mine made a comment about Pinterest that I responded to. So, as you know, I was notified of all the follow on responses. I was really surprised to see this:

Wow! Really?

Immediately, I thought of five men who I follow on Pinterest.

Reg and Aaron are huge in the social media world. The other three (Lennon, Ryan and Rex) are my Oklahoma City friends, successful businessmen in their own rights.

I was relaying this information to David and discussing the different ways people are using Pinterest and remembered another friend of mine, Dan Gordon from Samuel Gordon Jewelers in Oklahoma City. He (note I said he and not she) held a Pinterest contest at Christmastime.

And then I had to know.

I know for myself, when I post a recipe or craft project from my blog to Pinterest, my blog traffic TRIPLES. Yes, that’s right, triples.

So I asked Dan how his Pinterest contest went over.  And he replied:

“I believe we had close to 40 participants pinning hundreds of items on the Samuel Gordon website.  SamuelGordons.com website traffic went up over 400% for close to 5 consecutive days. Then stayed steady at 200% up for at least 5 more days afterwards. Also, we had Twitter and Facebook posts of pics. Brand awareness exceeded expectations. Now My boards have taken on a life of their own and some days I go without pinning anything I get over a dozen pins or more even if I’m not on the services for multiple days on end.”

Wowza! Doesn’t sound like a sad woman who will never have any happiness to me.

Every day, I see a few more articles about how people are using Pinterest to grow their business, market their non-profit, or create brand awareness and I think it’s awesome.

Although I am currently a twitter user who uses twitter for its originally intended purpose, over the past couple of years, I used twitter (and other social media platforms) to grow my business. I am endlessly fascinated at the cleverness of people in business figuring out ways of using each new social media platform to their benefit.

Now, I will say that the young man who posted that Pinterest is for sad women is a college student and maybe isn’t old enough to know any better. But I sincerely hope he’s not a marketing student or maybe he needs to be paying more attention in class!

Tuesday’s With Dorie

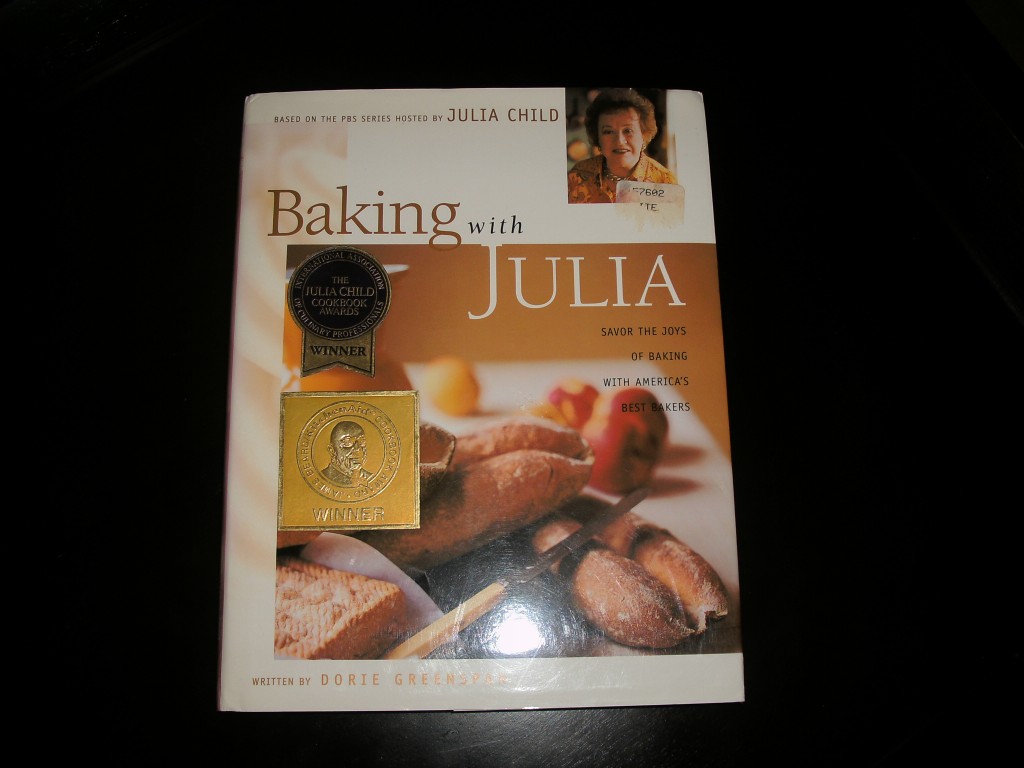
I got my book!

This is the book, Baking with Julia by Dorie Greenspan, that the Tuesdays With Dorie baking group will begin February 7.

Tuesday’s with Dorie started four years ago when the founder, Laurie Woodward, decided she wanted to become an internet sensation by cooking through the book Baking from My Home to Yours. It took the first group four years to complete the book this past December.

I stumbled upon the Tuesday’s with Dorie website purely by accident one day. I’m not even sure how I got there. All I know is I was so excited that the new baking challenge (to bake through the entire book) hadn’t begun yet and I could join. Fun!

So I got my book yesterday. The first recipe to be baked is White Loaves. I’m good at baking bread and David is good at eating it so I know we’ll enjoy this first recipe.

I was excited to learn that my twitter friend, @ashleyscakes and maybe @islandgirlok and @DishinandDishes, would be participating, too. 🙂

It’s not too late to join! If you visit the Tuesday’s With Dorie website you can sign up. The first recipe is due February 7. If you have a blog, you can blog about it and then link it up. But, if you just want to bake, you can do that too.

I think it’s going to be a lot of fun and I can’t wait to get started! 🙂

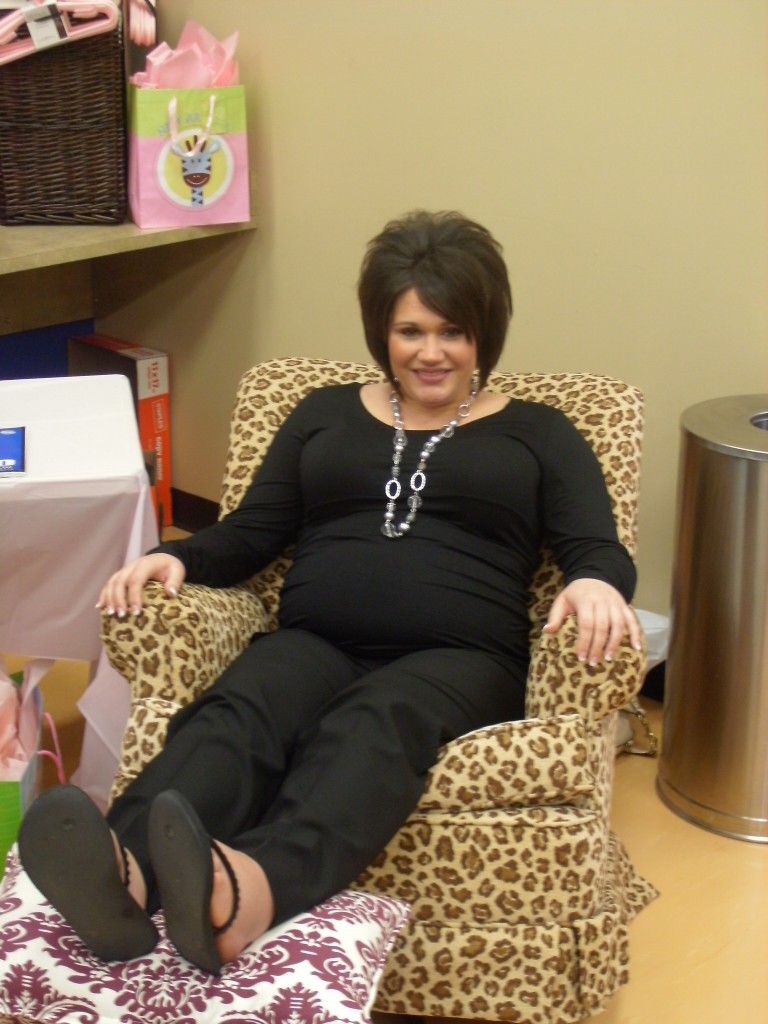
Baby shower!

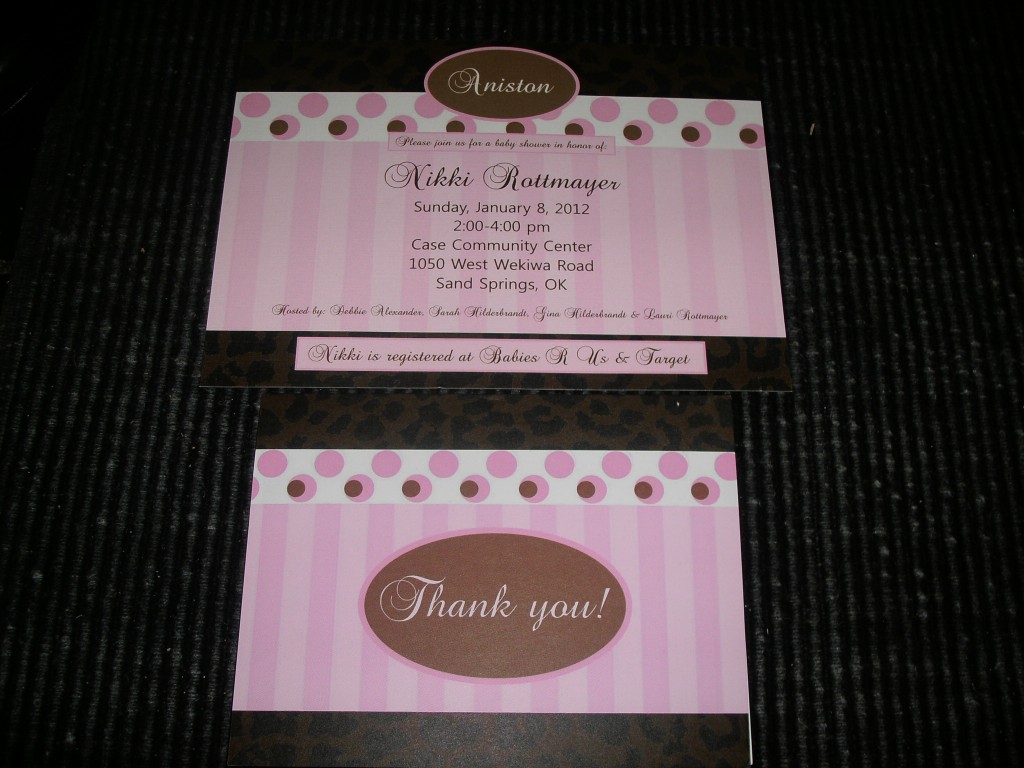
I had so much fun preparing for Aniston’s baby shower! Nikki asked me if I could design the invitation first and then the thank you cards. Her sister and mom had decided on a pale pink and leopard theme so I went with it.

I love the way both items turned out!

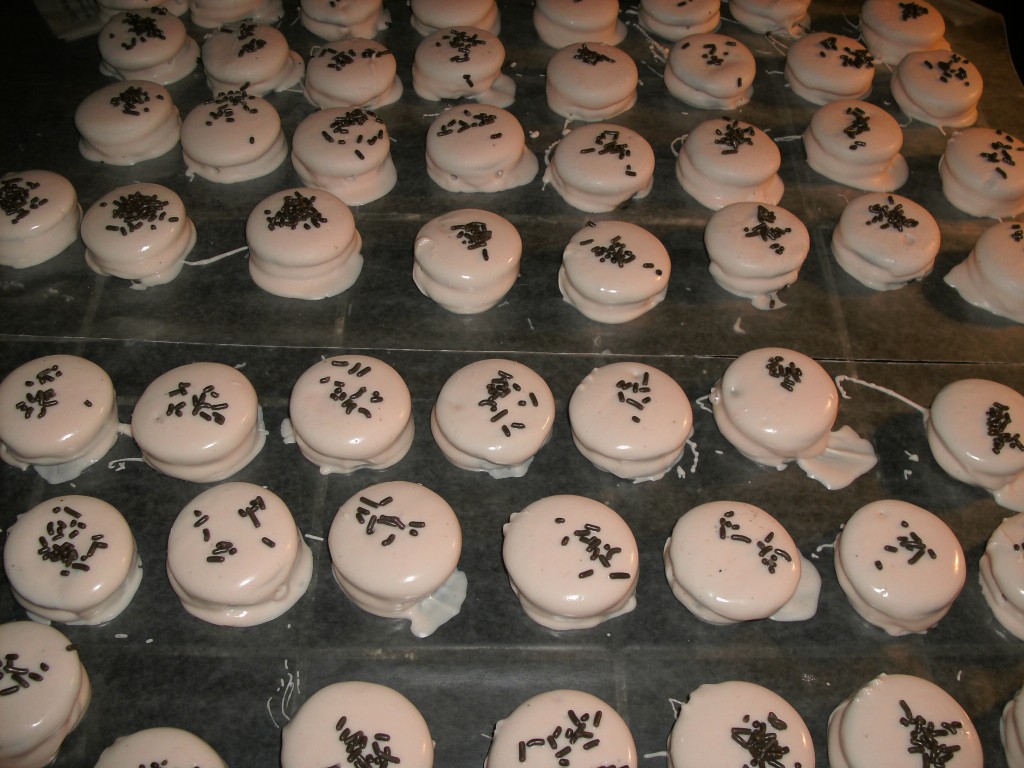
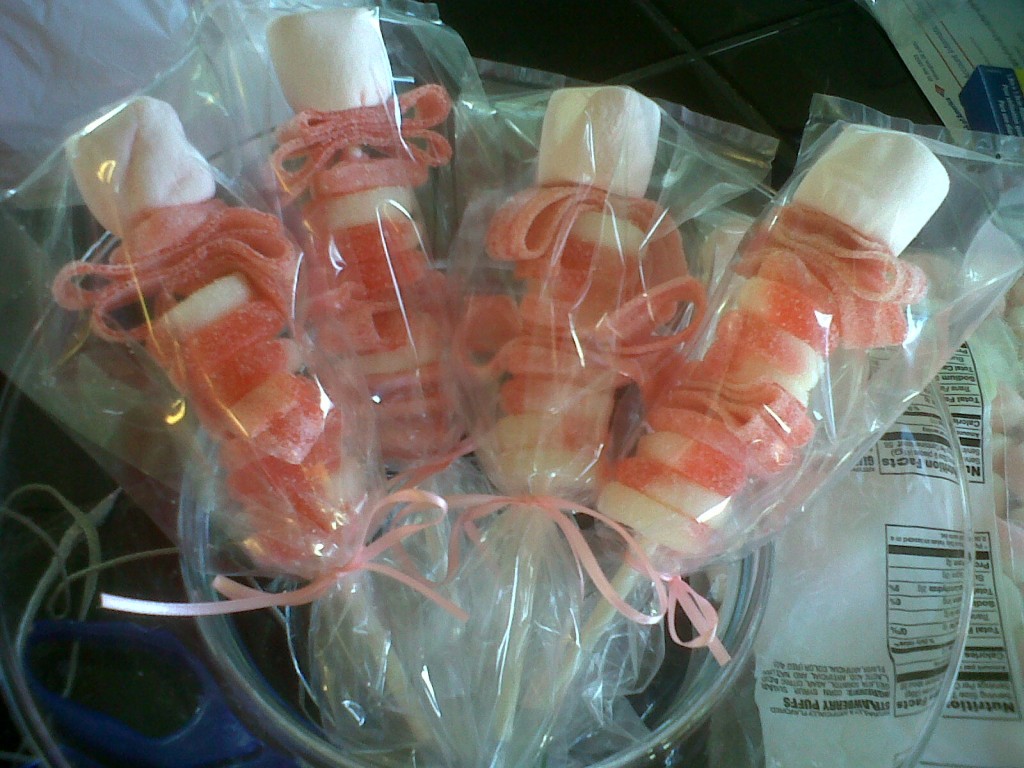
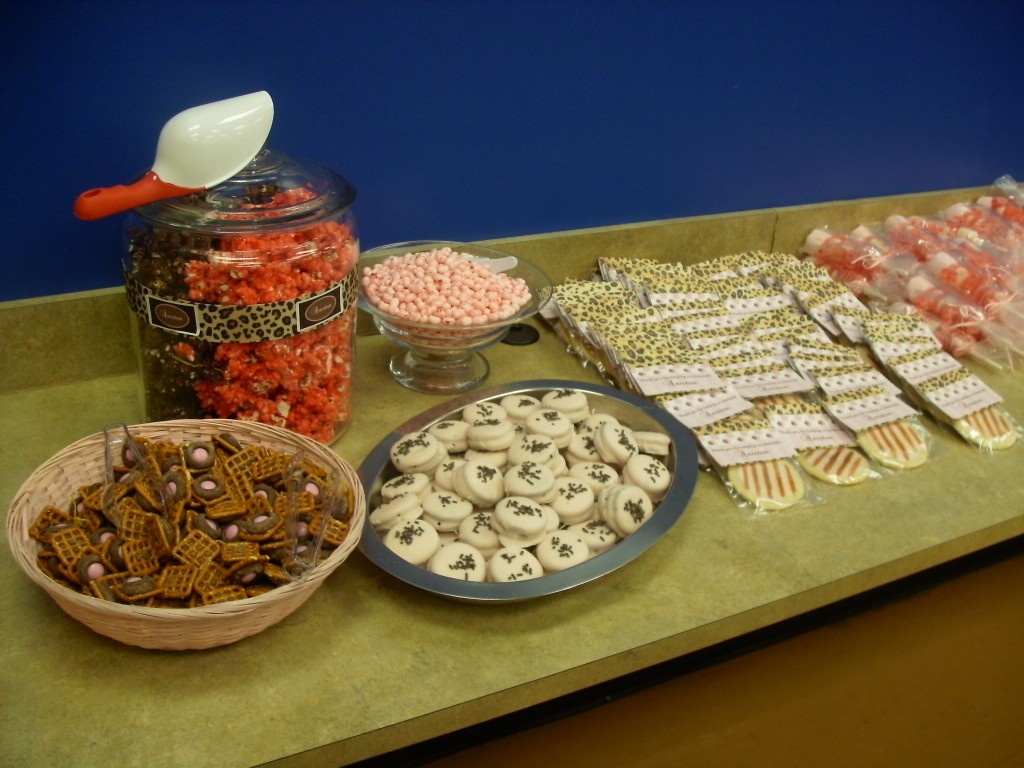
I asked if there was anything I could bring and Nikki said I could bring anything. Her family knows me well enough to know that I major in sweet treats.  It was really fun to scour Pinterest and the Internet to come up with ideas for what to make.

In the end, I decided on chocolate and pink popcorn

Pink chocolate covered Oreos

Pretzel snacks

(Super easy and delicious! Place pretzels on waxed paper line baking pan, top with Hershey kisses, place in 170 degree oven for 6 minutes, push M&Ms into the tops.)

Candy skewers

Cookies that I painted and bagged with matching thank you notes attached for people to take home

and strawberry cream cheese jelly bellies.

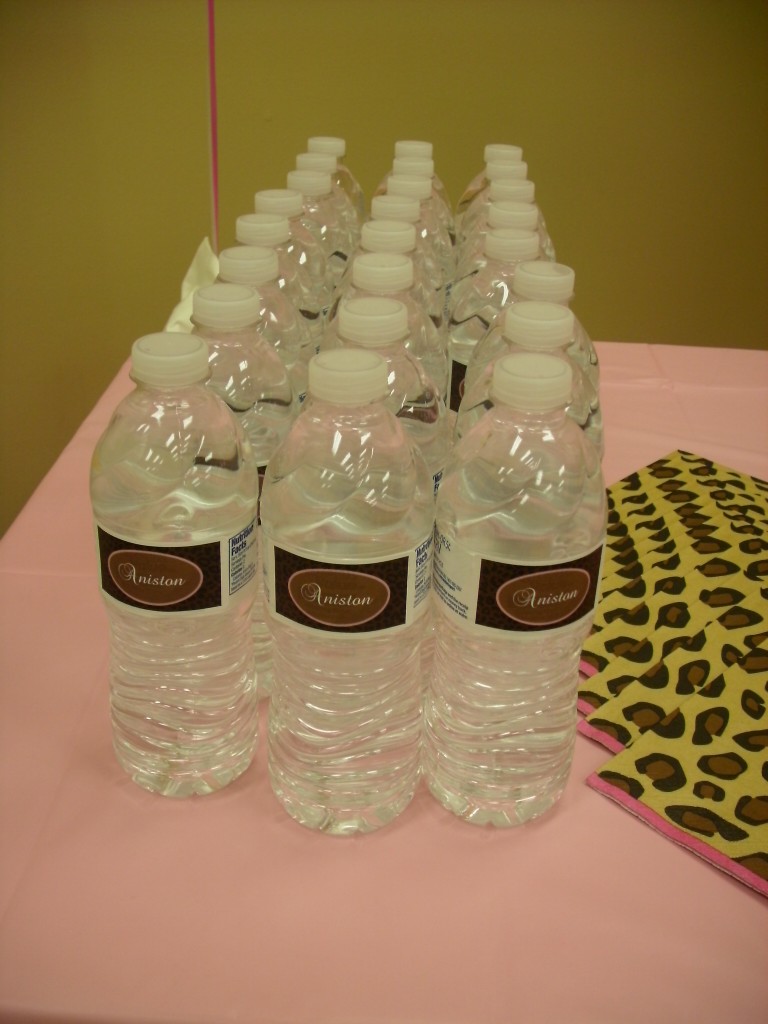
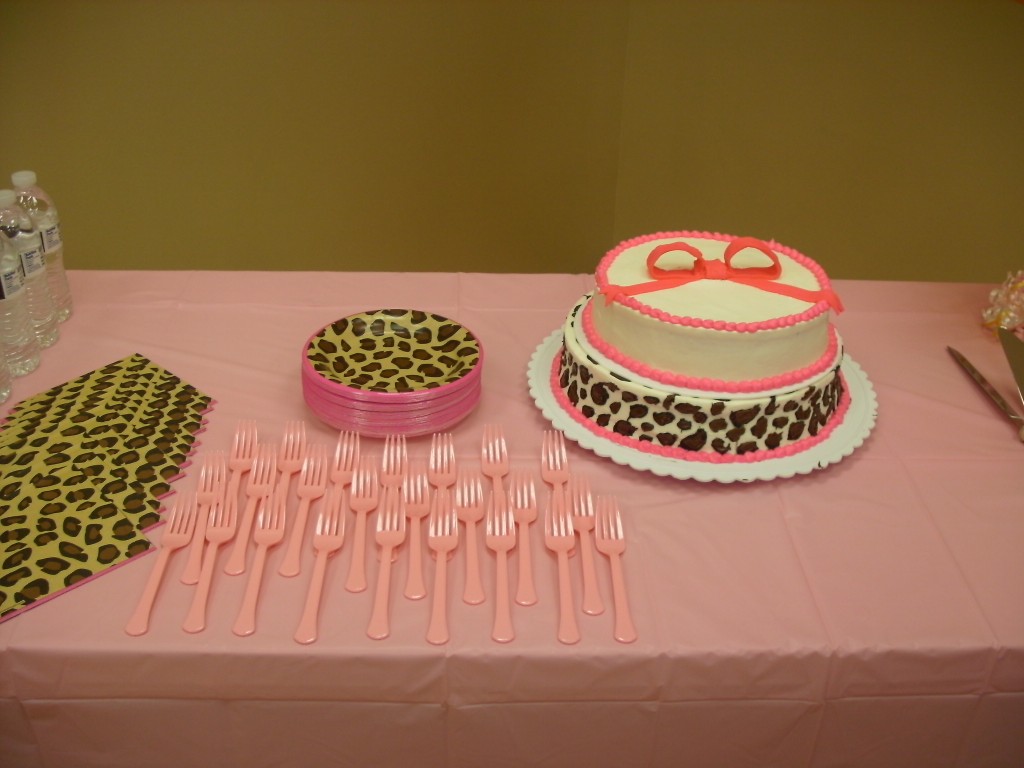
I also labeled water bottles to go along with the theme.

Of course it was overkill but I haven’t figured out how to make “just enough”. I didn’t want anyone who was there not to get something because there wasn’t enough.

They brought a cute cake!

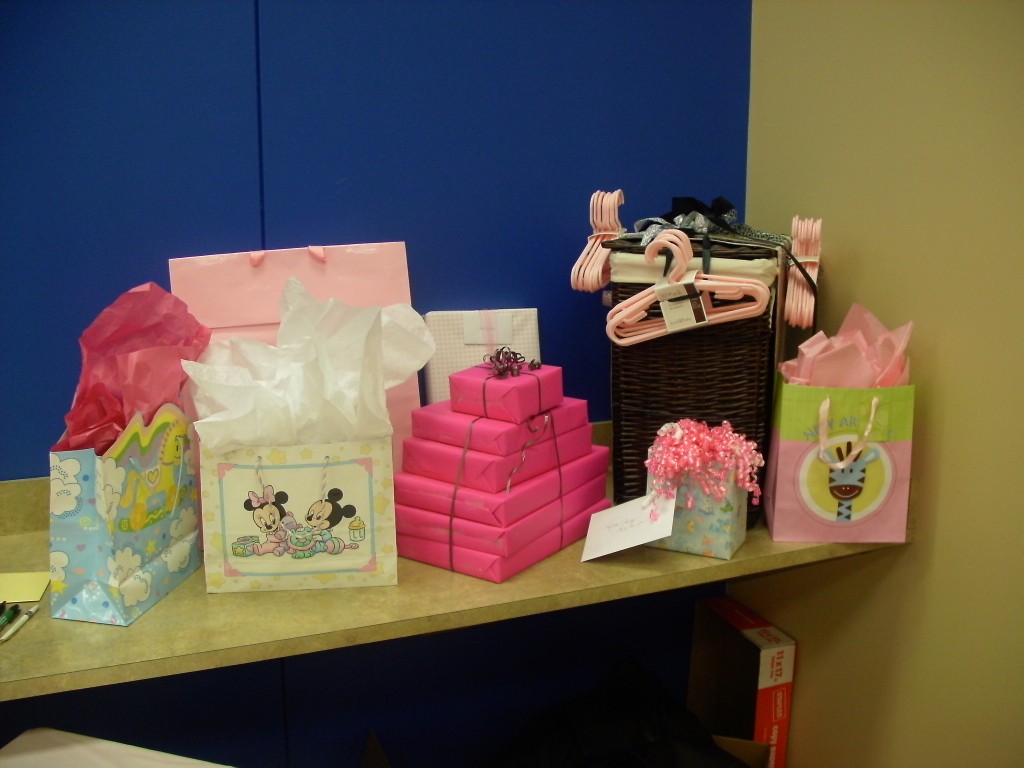
There were lots of presents.

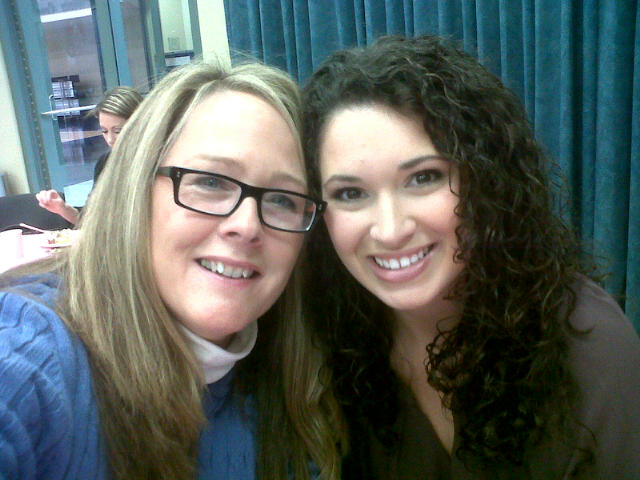
Lyndzee came.

bringing the chair she re-covered for Nikki.

It was great and I really loved watching Nikki’s face when she opened the gifts I had made for Aniston.

The Chucks

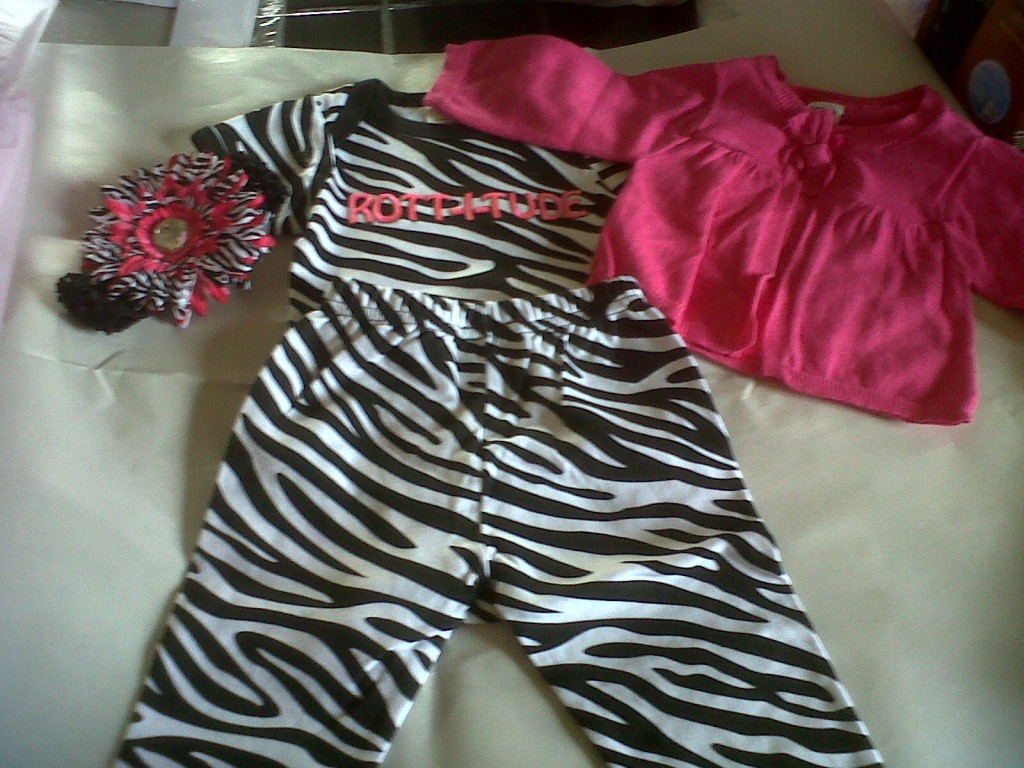
and the little Rott-I-Tude outfit.

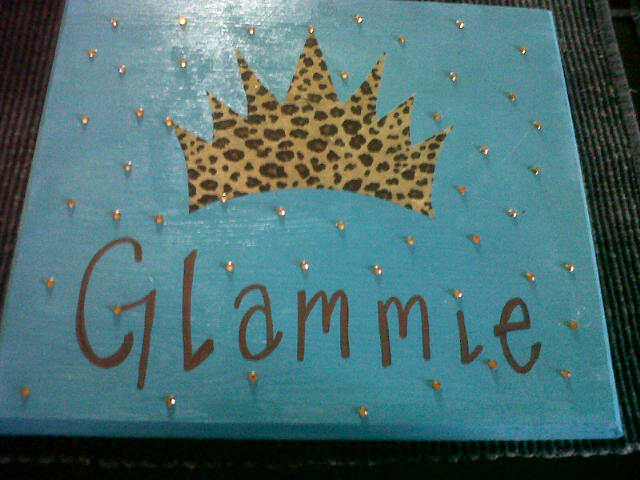
I made a wall hanging for her bedroom, too, but I need to get a photo of it when it’s hanging on the wall in her nursery for full effect. 🙂

Lyndzee brought me my Christmas present she made for me which I adore!

I’m so excited to be Glammie. 🙂

Have I mentioned I’m a bubblehead?

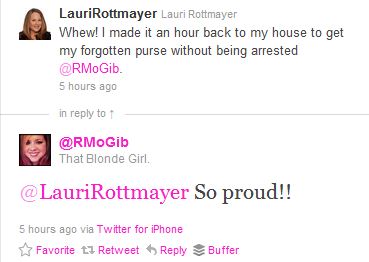
From this morning’s twitter feed:

Today, after driving home yesterday to Bartlesville to pick up UPS deliveries, I planned to pack the car and head back to Little Rock.

I wanted to get on the road early but that wasn’t to be as I discovered someone had tried to break into our big house and I had to get the storm door back in it’s frame as best as I could and make a police report.

I was starving. No breakfast. But I just couldn’t stand the thought of eating McDonalds again so I figured when I stopped for gas, I’d grab something a little healthier at Quik Trip. I almost pulled off to get gas in Owasso but there were four cars ahead of me pulling off and I just didn’t want to wait that long so I checked and figured I could get gas in Sand Springs.

I was going to Geoff and Nikki’s house in Sand Springs to pick up some of the office equipment that had been shipped back from Saudi. I pulled into the first Quik Trip after getting off the highway and that was when I realized I had no purse. As I thought about it, I could clearly see it laying on the couch where I had obviously forgotten to pick it up.

There I was an hour away from home, with no money and no driver’s license and no gas. Having never found myself in such a situation, I found myself paralyzed with indecision. I honestly had NO IDEA WHAT TO DO.

I called Nikki. I told her my predicament and she said they could buy gas for me so I could get back to Bartlesville. Whew!

I drove, carefully, to their house which was less than a mile away.

Isn’t it weird how not having your driver’s license can totally make you feel guilty? I drove down to Sand Springs without a care in the world and, yet, as I drove home, I felt like my car had GUILTY GUILTY GUILTY in flaming neon stamped all over it.

Add to that, on the way to Sand Springs, a guy in a silver car had cut me off. And then drove slower than I was when he got in front of me. I passed him again and then I noticed him coming up, fast, in the lane on my left. Followed by a Tulsa County Sheriff. Who eventually pulled him over.

And I laughed.

Driving home with no driver’s license, I was afraid that I was about to be the recipient of some karmic retribution.

I would be pulled over.

I would be that girl.

The arrested one.

I drove the one hour home, hands at 10 and 2, barely breathing. When I finally made it home, I gave a huge sigh of relief.

So I didn’t get arrested. I was proud, too. And relieved. I ran into the house, grabbed my purse and headed toward Little Rock.

I’m so happy to be here. I think I’ll hibernate for a while. 😉

Roasted Baby Carrots

I have been fiending roasted carrots. Don’t ask me why. I can’t remember ever having them before but I have really, really wanted them.

On my first shopping trip in Little Rock, I found 1 lb baby carrot bags on sale four for $5.00. I bought them and tried to figure out how to roast them.

I found a recipe which I modified for size and the fact that I forgot to buy garlic powder (we use tons of garlic powder, not sure how I did that, just know that shopping here is traumatic).

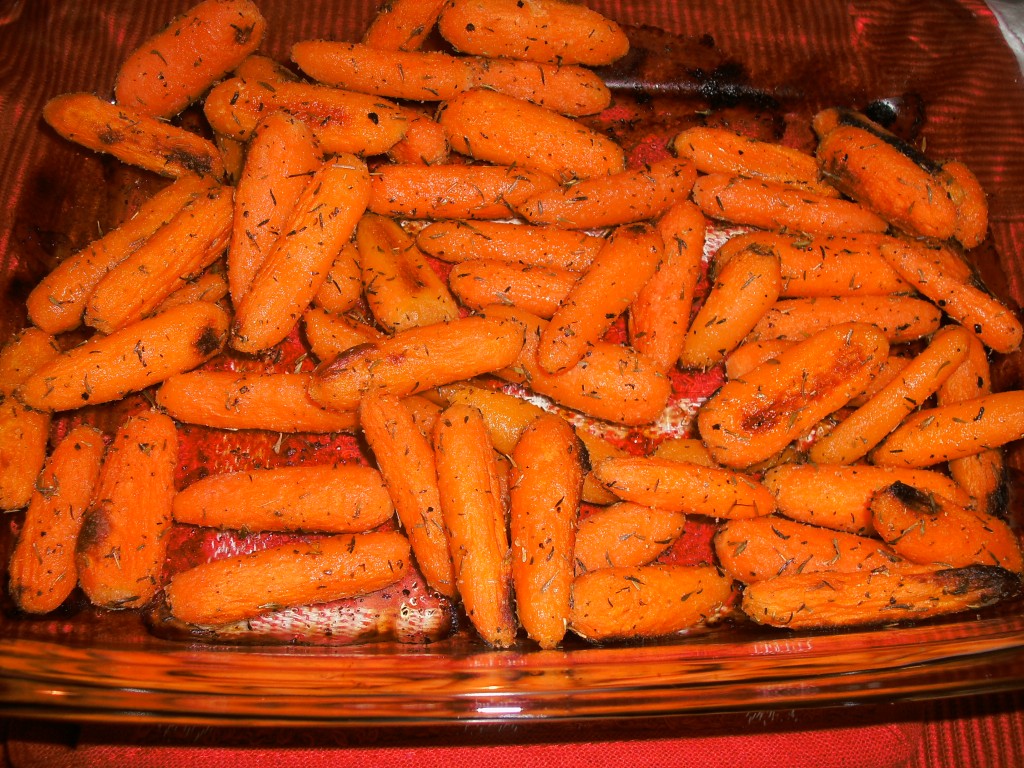
So, anyway, we finally had roasted baby carrots for dinner tonight and they were delicious! Raul joined us for dinner and said that he’s not usually big on carrots but that he loved these. 🙂

Roasted Baby Carrots

1 lb bag baby carrots

1 tbs olive oil

1 tsp thyme

1/4 tsp onion powder

1/4 tsp ground pepper

Preheat oven to 425 degrees.

Spray glass casserole with cooking spray.

Mix olive oil and spices together in a bowl until combined. Then toss the baby carrots in the mixture until they are coated. Place is prepared casserole. Bake for 35-40 minutes, stirring occasionally, until the carrots are tender.

Chow down. These are awesome! In my photo, the carrots are a little over done, crispy, because I forgot the stirring part but it didn’t affect the tasty outcome.  I hope you’ll love these like we did. 🙂

Judging a book by its cover

Under the category of you learn something new every day, did you know that books have different covers in different countries?

I didn’t know this!

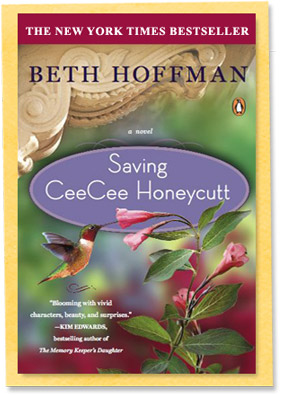
My friend, Beth Hoffman, who wrote my very favorite book Saving Cee Cee Honeycut has just had her book published in the United Kingdom.  I’m excited because now everyone in the UK gets the opportunity to read this awesome book.

As I congratulated Beth, she commented that the thing that has been so fun is seeing the covers that each new country chooses for her book. I asked her if she had a link to the covers produced so far and she showed me:

They are all very different and, yet, you can see how each cover relates to the story inside. Beth says she’s very curious to see what the books from Israel, Indonesia and Korea will look like. Me, too!

I thought this fact about the different book covers was interesting. I figured if I didn’t know they did this, other people might not know either. Also, it gives me a chance to share, once again, this awesome book. If you haven’t read it, I highly recommend it!