Category Archives: food

Blended yumminess

A couple of months ago when we were really super busy, I realized we weren’t eating enough veggies. I remembered having heard about a blended salad back a few years ago. I thought it seemed like a good idea because it would be faster to ingest than eating it off a fork.

Blended Salad

But we were so busy, there wasn’t time to find out!

Now that we’re not so busy, I’ve started making them and I have to say I LOVE the blended salad! I have a little trouble with salad dressing and I don’t eat a lot of it. While it tastes good, it doesn’t make me feel good.

The benefit I wasn’t expecting was being able to eat a salad, without dressing and really love it.

So, the first time I made it, I started with tomatoes. The mixture with the tomatoes just didn’t hold together or something. It was weird. Since that first time, I’ve been starting with tomato juice which makes the end result better.

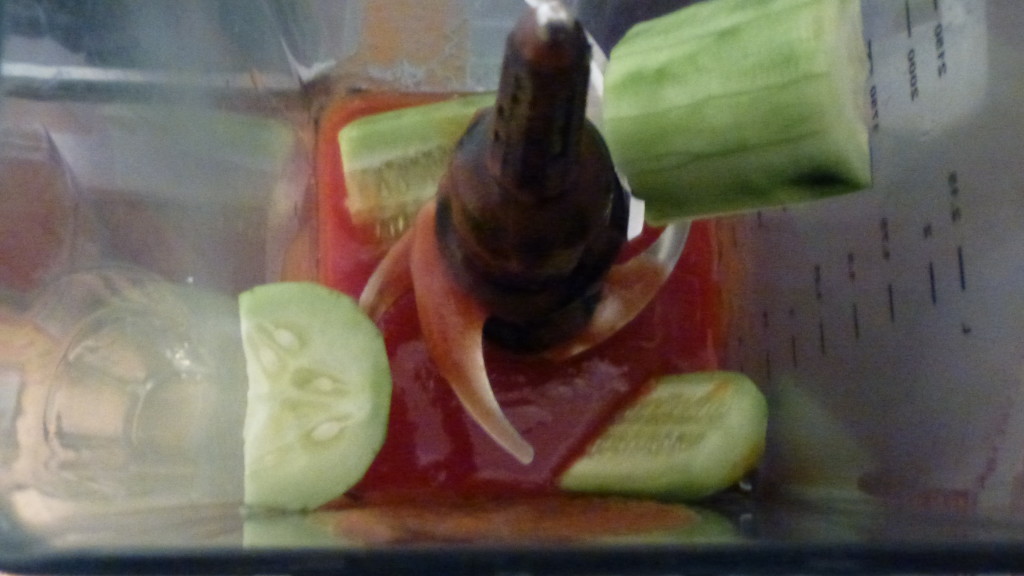
Tomato juice and cukesThen I add cucumber and blend.

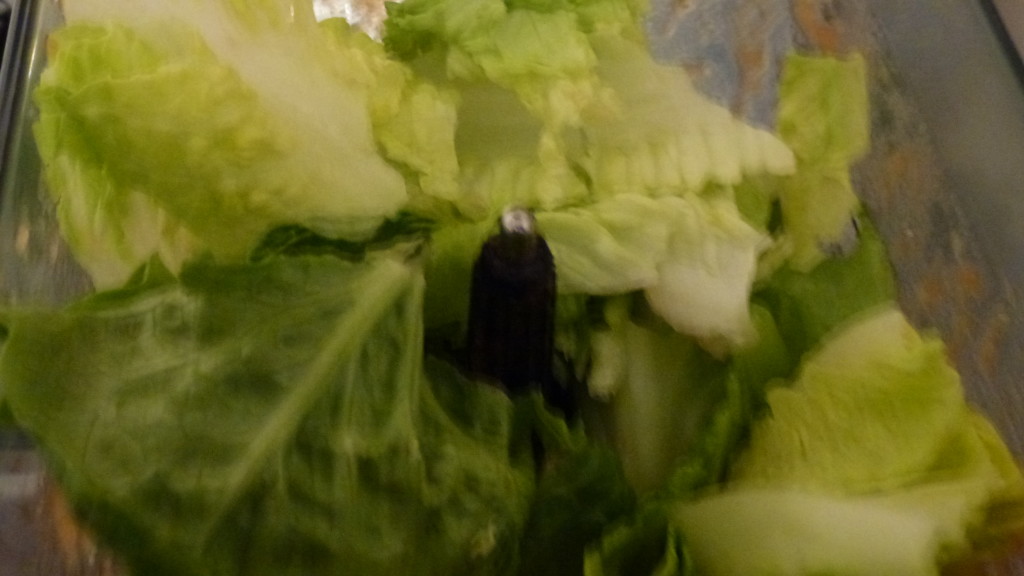
P1050402Add a head of romaine and some celery.

P1050404

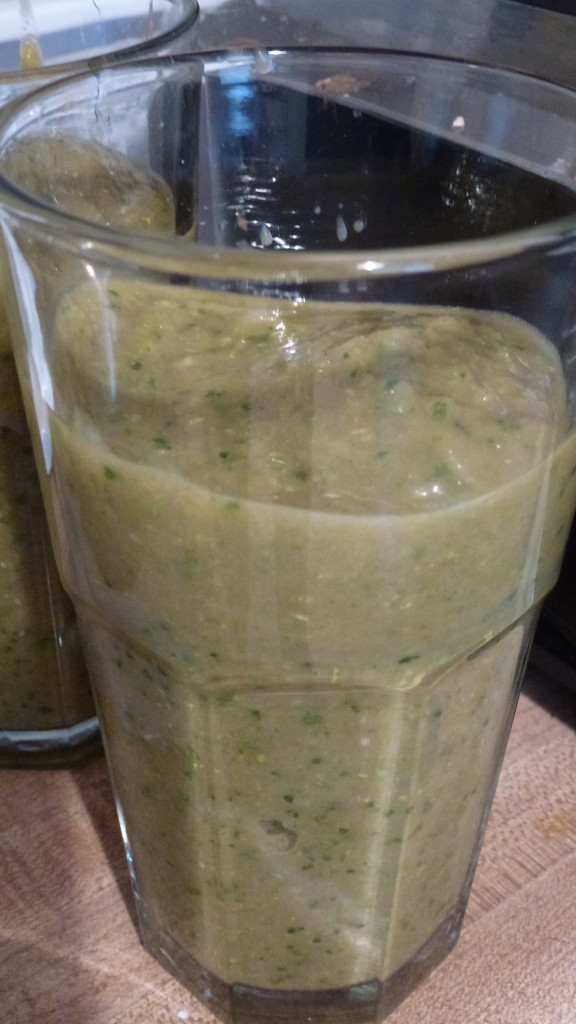
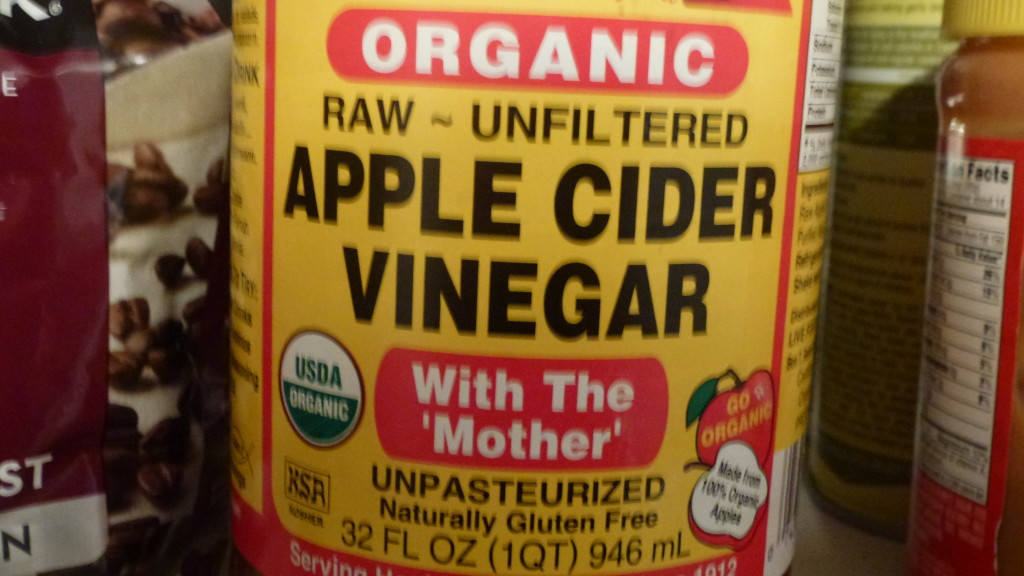
And some apple cider vinegar. I even add an avocado but don’t tell David. Blend it all together and it is delish!

For some reason, it’s easier for me to eat than a huge salad with the same amount of veggies in it. Try it and see if you don’t like it! 🙂

Banana cardamom pancakes

Because of my pageant background, people are always asking me what my talent is. I always reply: parallel parking and making iced tea. I’ve never done a pageant with a talent portion. 😉

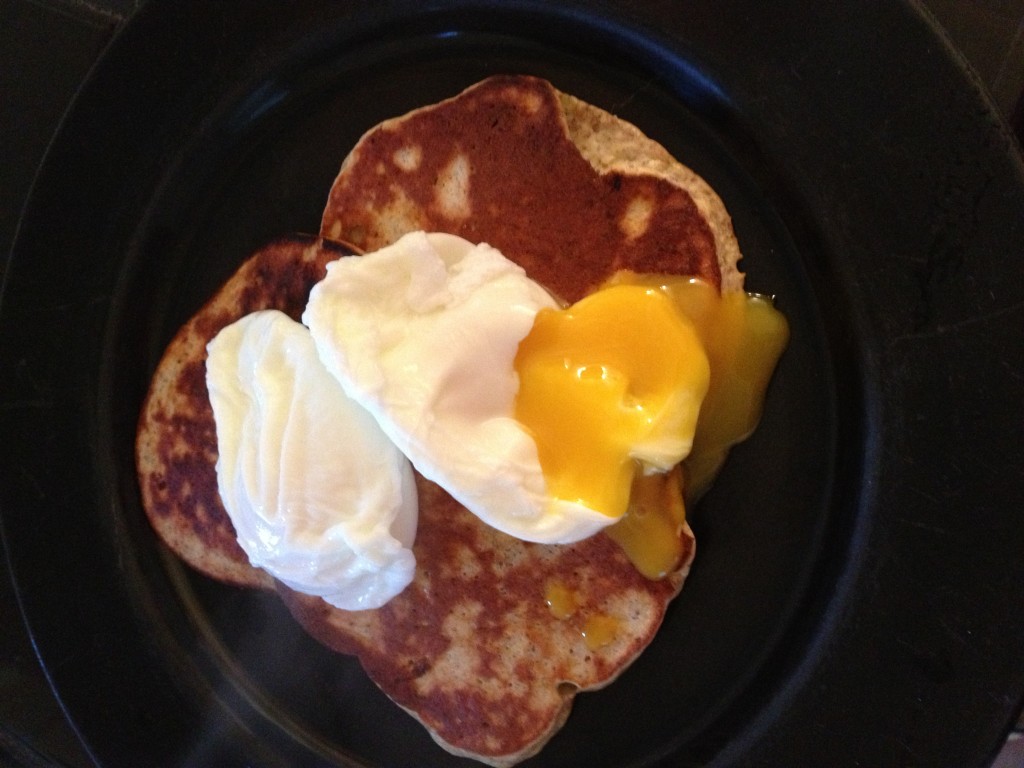
Well, I just realized that I have another talent that I’ve not been sharing with people. Poaching eggs. Oh yeah, buddy. I can poach an egg like no other.  And I love them. The problem is that you have to really have something to sop up the egg yolk when it’s prepared the way I like it and, since we’re not eating bread, toast is not an option.

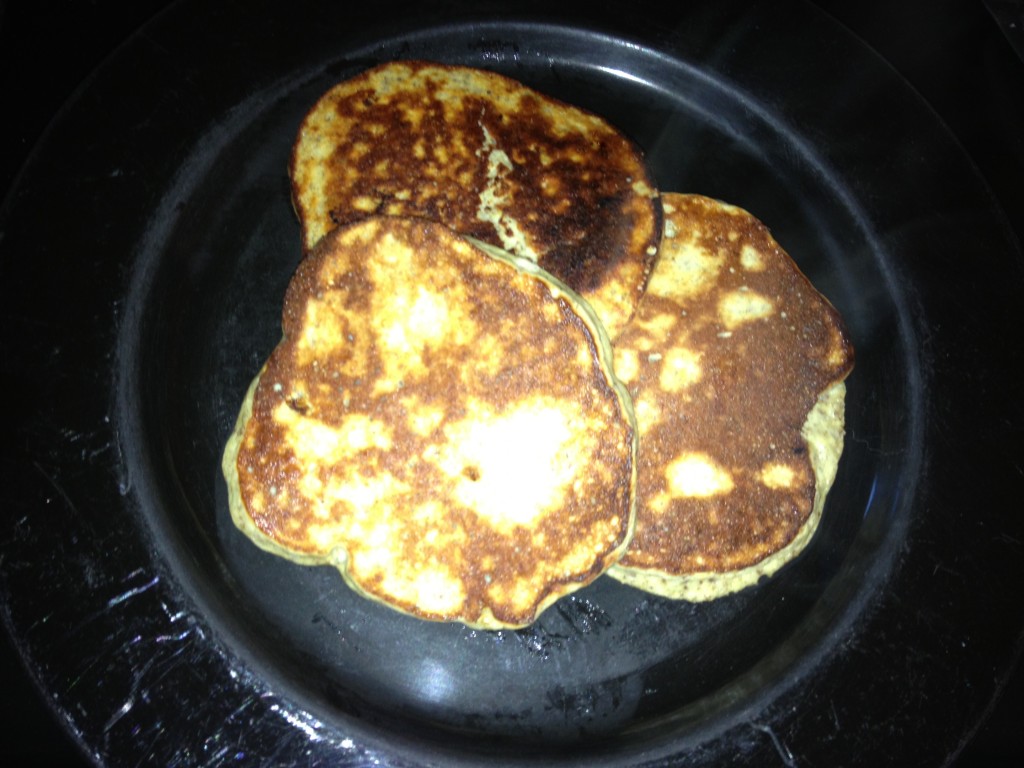
The other day, I found this recipe for paleo pancakes. It’s delicious and we’ve been having it a couple of times a week.  It’s a great sopper up of egg yolks. too. AND! Today I remembered to add cardamom to the mixture.

Delicious!

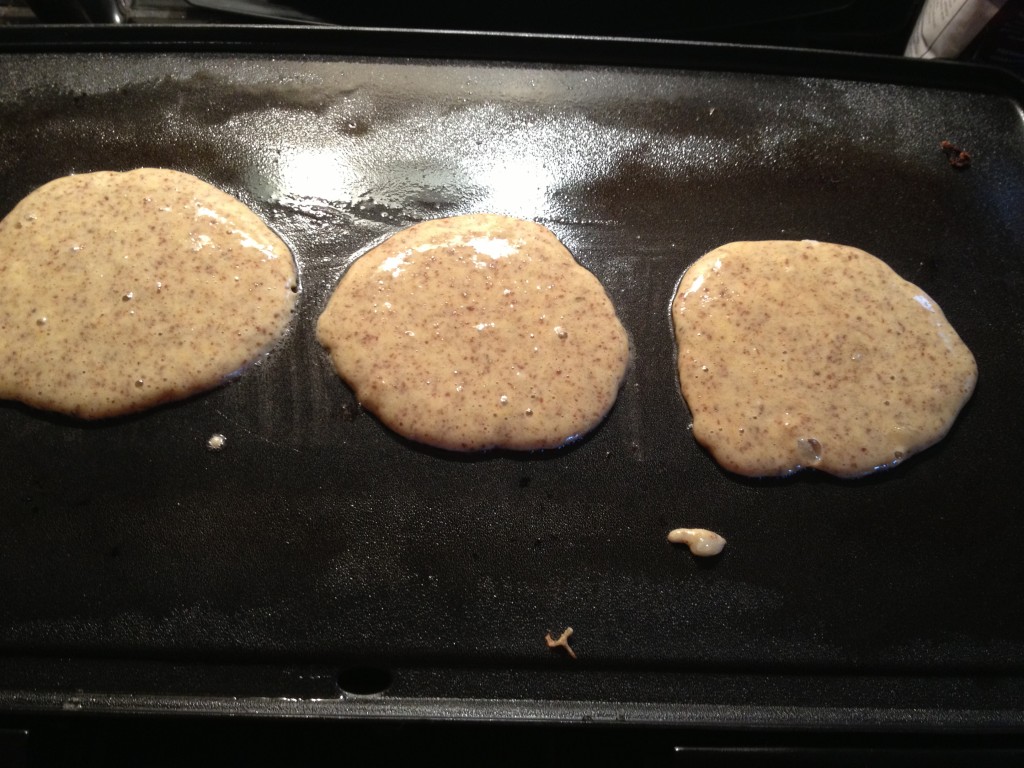
So here it is. The recipe makes three decent sized pancakes. I cook them on a griddle brushed with ghee. You could make two larger pancakes but the smaller size lends itself to flipping well. 🙂

Banana Cardamom Paleo Pancakes

(adapted from The Best Effing Protein Pancakes I’ve Ever Had)

INGREDIENTS

1/2 Very Ripe Banana

1 Egg

1 scoop Vanilla Whey Protein Powder

1 T Ground Flax

1/4 t Vanilla

1/4 t Cardamom

INSTRUCTIONS

Mash the banana and beat the egg, protein powder, flax, and vanilla to make a batter.

Cook over medium-low heat for 2-3 minutes on one side till browned, then flip and repeat.  This recipe makes 3 pancakes.

Top with eggs, almond butter or fruit.

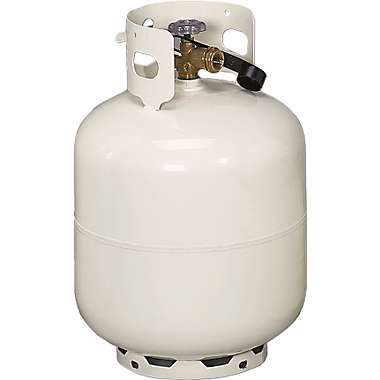
Terrified of propane

While we were on our magical mystery RV tour (We’re back now. It was fun.) I realized that I was terrified of propane. I didn’t want to use it for anything if we could help it. I was afraid it would blow up. People have told me this is not the case but I didn’t want to take any chances.

We never used the stove or oven in the RV and had the fridge on the electric mode. I think that we probably used propane for the hot water heater because we only found out that it would run on electric when we were showing it to the man who would eventually buy the RV.

Anyway, cooking became challenging. We used our George Foreman grill and crock pot a LOT. But I wanted some over easy eggs. So we got a griddle.  We like veggies but since we would have to turn off the a/c in order to microwave them, we decided to get a steamer.

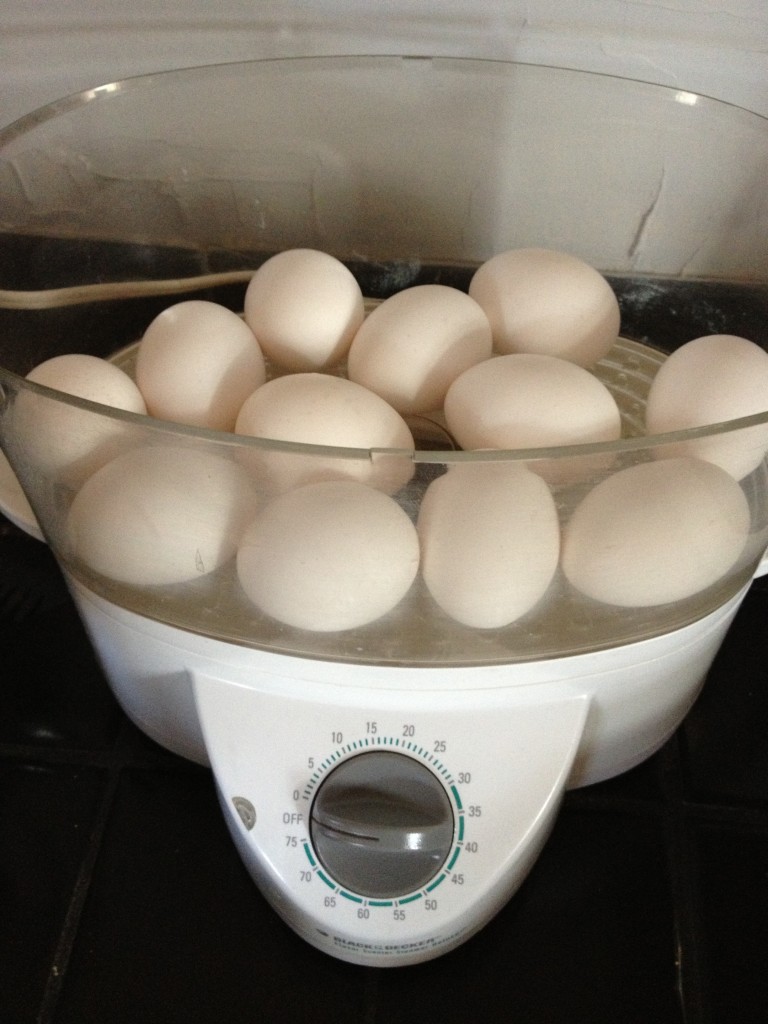
I found an very nice Black and Decker Flavor Scenter and Steamer at the Goodwill for $3. Score!

And we were set. Until I was looking for a snack one day and there were no hard boiled eggs (one of our favorite paleo go-tos) in the fridge. And I wondered, “Can I steam eggs to make them hard boiled?”

After a google search I found out that it was indeed possible and, so, another non-propane hurdle was crossed.

But here’s something I didn’t know until I actually steamed the eggs the first time. Not only is steaming the easiest way I have ever hard boiled eggs, they are extra easy to peel. Every single egg. Every single time. 🙂

Now I know you want to steam eggs too. Here’s how I did it.

I filled the water to the low mark.

Put a dozen eggs into the basket. It’s a perfect fit!

And steam for 25 minutes.

When the buzzer dings, you take the basket and plunge it into cold water.  Because of the holes in the bottom, plunging the eggs into the water becomes easier than any other method!

That’s it! Fabu hard boiled eggs that last longer than the ones that you bake in the oven and are easier to peel than any before. I wish you luck finding your own deluxe steamer at the Goodwill. 🙂

Cardamom nom nom

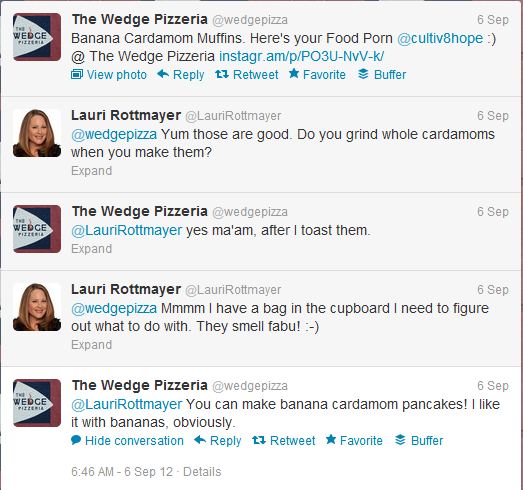
The other day, I was talking to my friend @wedgepizzza to see how she used cardamom pods. I had stopped by for a banana cardamom muffin back in March and it was delicious. She was baking them again that day.

I had been to the Indian grocery before we left Tulsa and bought a bag of cardamom pods that has been sitting in the cupboard ever since. Every time I open the cupboard I smell them and think I really need to do something wtih them. I love that smell!

@wedgepizza told me that she grinds the pods after she toasts them and she particularly likes it paired with banana and suggested pancakes. I told her I’d have to find a paleo pancake recipe since we are trying hard not to do flour.

Not ten minutes later, this recipe sailed into my inbox. I figured that crepes were pretty close to pancakes and got ready to make the recipe. I knew that allowing bananas to be old enough to moosh was going to be my biggest challenge since David loves them so much.

I bought a bunch of bananas and then we went out of town for a week. The bananas were ready and waiting for me to moosh them into crepes this a.m.

I followed the recipe as given but it wasn’t as soupy as it was supposed to be and we ended up with banana pancakes. Which we ate with our fingers. Delicious!

This recipe makes a lot of pancakes and we have a bunch left over. We’ll be having this again! Oh, and I forgot to add the cardamom so I will  have to figure out a way to incorporate that into something. 😉

Paleo Banana Crepes

Makes about 7 big crepes

Ingredients:

1/2 bag of Bob’s Redmill Tapioca Flour

1 can full fat coconut milk (try Native Forest – no BPA in can)

5 ripe bananas

1/2 teaspoon salt

7 pastured eggs

Instructions:

Mix and mash all ingredients together to make a pretty soupy batter. A hand held mixer or submergible blender works well. Heat a large, non-stick pan on medium low and then cover the bottom of the pan with a thin layer of the batter. Flip when bottom is golden brown. Cook until both sides are lightly browned.

You can cut these up and eat them plain or wrap meat and veggies in them. Even though they’re banana, the flavors blend really well.

Paleo Barbecue Sauce

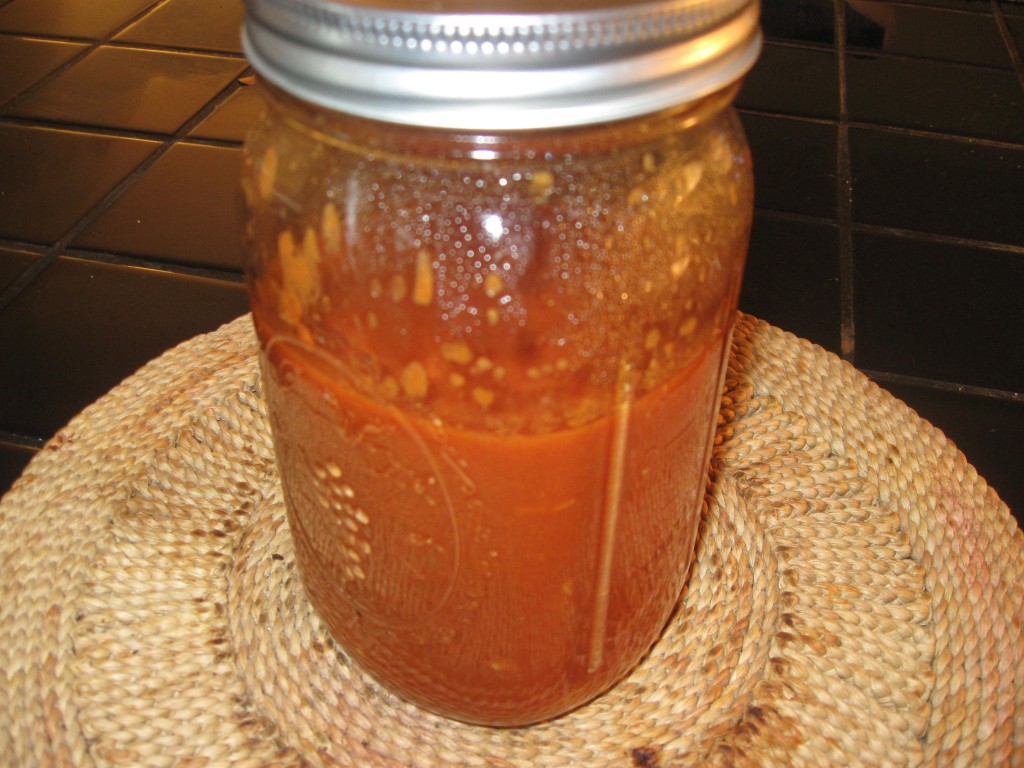
Since we started eating paleo, I’ve been looking for a good barbecue sauce recipe. If you look at anything you can buy on the grocery store shelf, you’ll see they’re loaded with sugar or high fructose corn syrup. Or both.

I finally found a FABU recipe at the Paleo Table blog. It’s really good and we love it. You don’t miss the sugar at all.

I do modify the recipe by using chicken broth most of the time instead of beef broth mostly because I usually have that handy.

Paleo Barbecue Sauce

Ingredients

1 6 oz can tomato paste

1 to 1-1/2 cups of beef stock (no salt added)

5 cloves garlic

1/2 medium yellow onion

2 Tbsp Dijon mustard

2 Tbsp apple cider vinegar (I use Bragg.)

1 Tbsp extra virgin olive oil

1 tsp sea salt

2 tsp chili powder

1 tsp cumin

dash liquid smoke

Preparation

1.  Place onion and garlic in a food processor and pulse until very finely chopped.

2.  Add all ingredients except beef stock in a medium sauce pan. Stir to combine. Add beef stock until sauce reaches your desired consistency.

3.  Warm mixture over medium heat until it reaches a slow simmer. Cover and simmer for 20-30 minutes, stirring frequently.

4.  Store sauce in the refrigerator in an airtight container.

The Paleo Table says that this lasts for quite a while in the fridge but ours never lasts too long. 🙂


Fudge babies

Ever since I decided to kick the sugar out of my diet once and for all, I’ve been doing pretty well.

Except for a small incident involving Lyndzee Vieweg and a shared piece of chocolate cake, that is. Shhhhhh!

Anyway, mostly I haven’t wanted anything sweet which is unusual for me. But yesterday I wanted a cookie. Badly. I started looking around the internet for paleo sweets and remembered Fudge Babies.

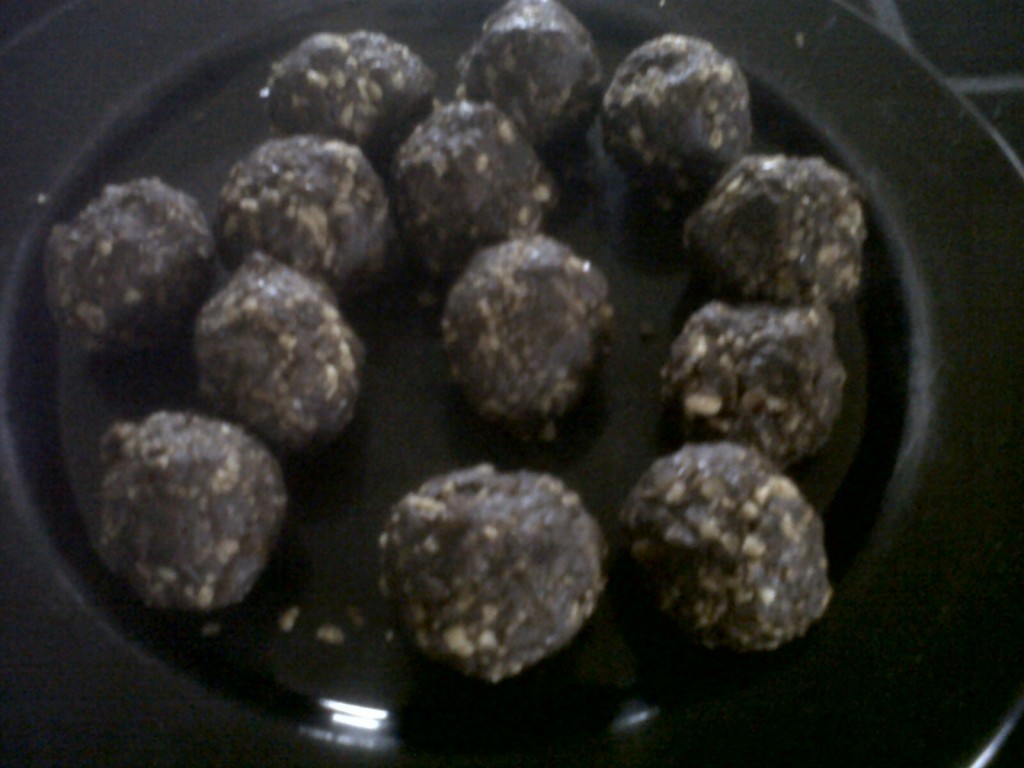
These little goodies are not only easy to make they are totally not bad for you!

You will need

  • 1 cup of walnuts
  • 1 package of dates (mine were 227 grams)
  • 3-4 tbs cocoa
  • 1 tsp vanilla

Place all ingredients into the food processor and whir them up. Form them into balls and voila! Almost instant chocolate paleo goodness. Nom! 🙂

Tuesdays with Dorie – White Loaves

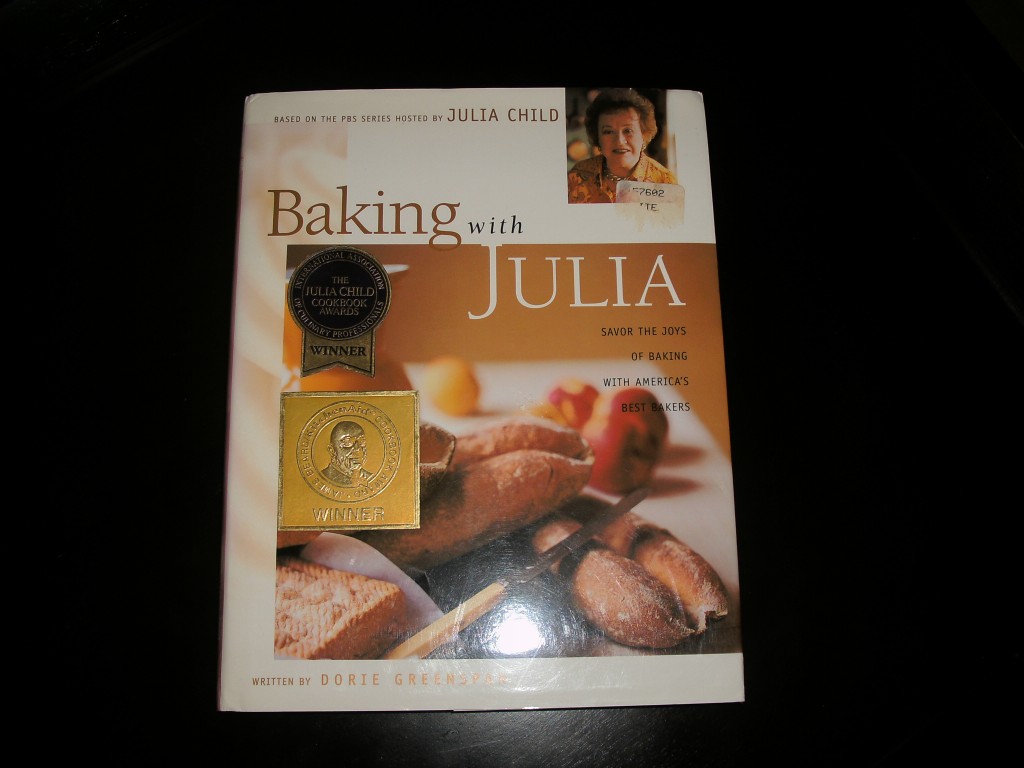
I have been all over the southwest (or so it seems) since I joined the Tuesdays With Dorie baking group and got the book we will be using, Baking with Julia.

Our first assignment was White Loaves. I’m pretty good at baking bread and I love to do it so I figured I’d swoop in at the last minute, bake my bread and make my post. 🙂

So, bringing up the rear…

The dough is a lot. I had to keep pushing it down while it mixed to make sure the flour was all incorporated. The butter went into the dough really easily, leaving me with a beautifully smooth lump of dough.

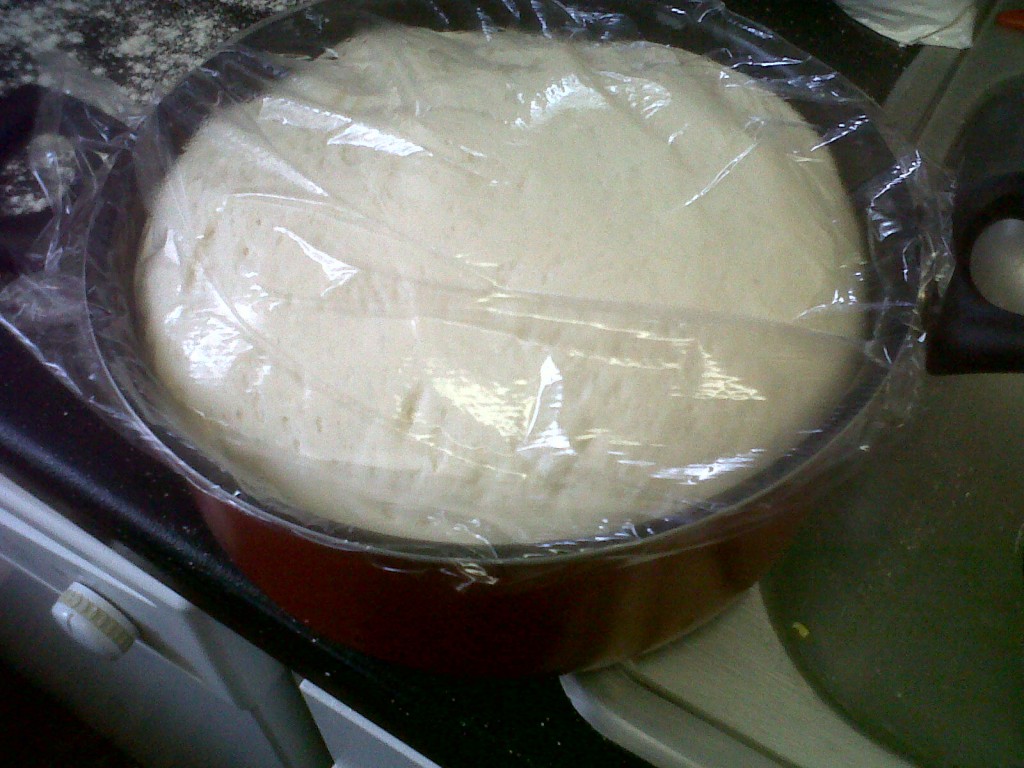
I am a little limited here in Arkansas in the mixing/baking/utensil department so I raised the dough in my soup pot. LOL!

It got huge!

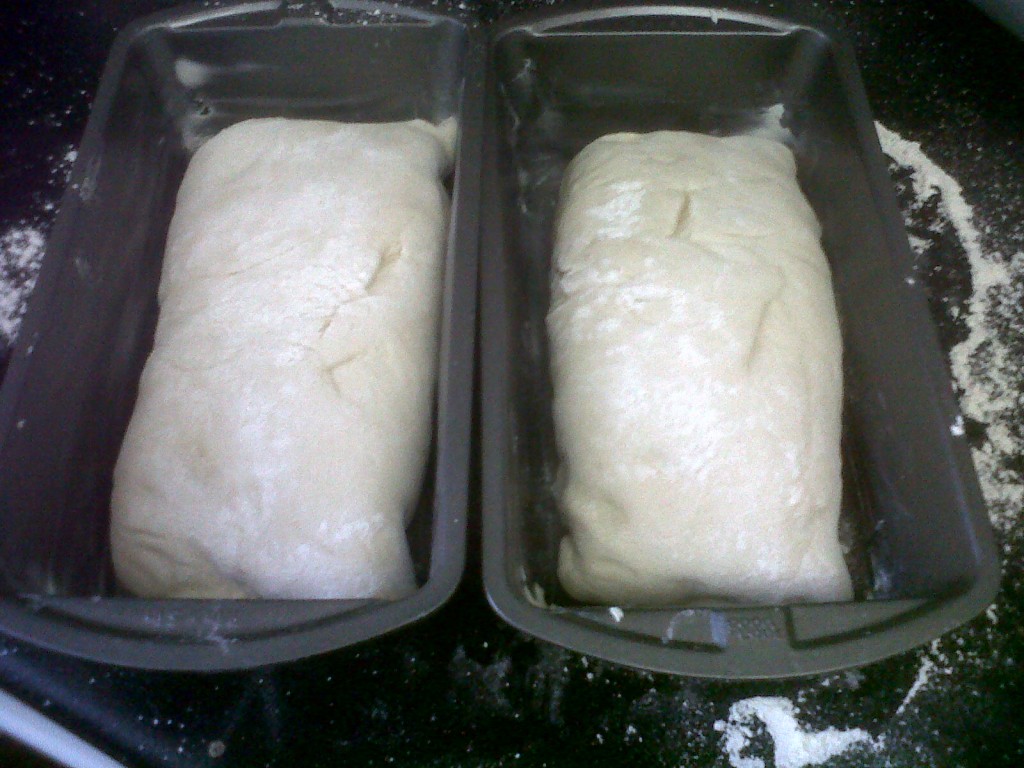
Then I patted it out and rolled it according to the instructions for the second rising.

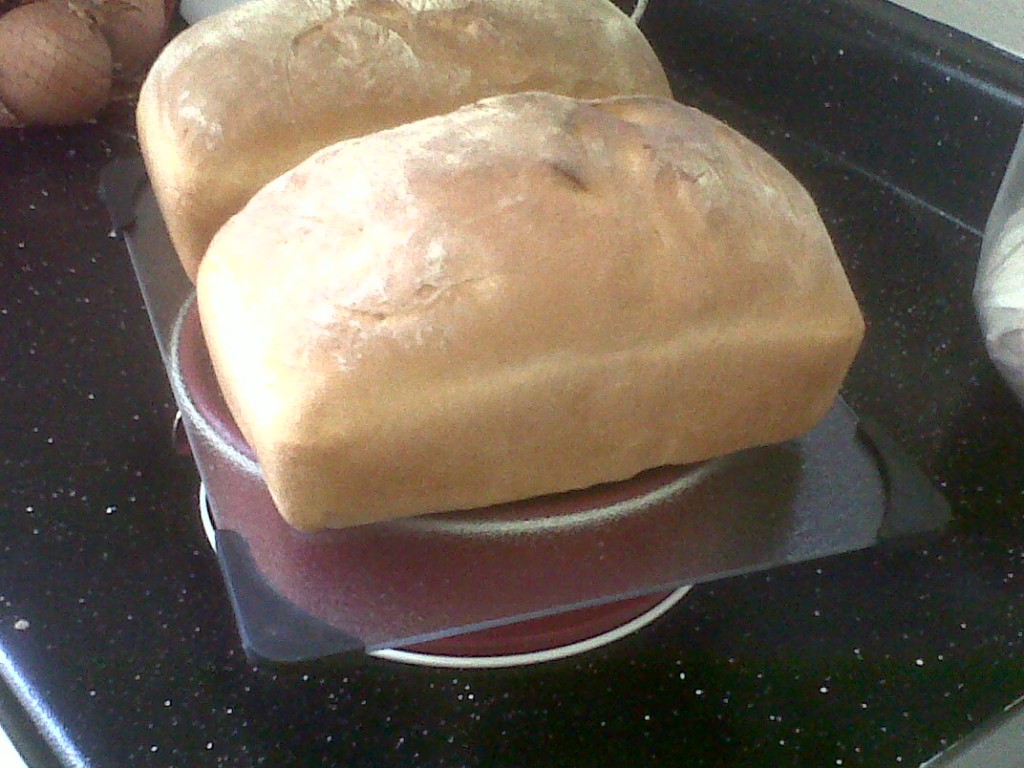
Then I baked it for 35 minutes and got two of the most beautiful loaves of bread!

Like my makeshift “rack”? hee hee

Now I need to go out and buy a serrated knife to cut the bread with! 🙂

If you’d like to bake these gorgeous loaves for yourself, you can find the recipe at this link.

Happy baking! And eating. Oooh and breathing. It smells divine! 🙂

I really wanted pancakes

But since we don’t eat pancakes as a rule and I had no flour or syrup in the house, I settled for eggs. Besides, when I am craving sweet things, the best thing to kill that craving with is protein.

I found a recipe at the Incredible Edible Egg website to make scrambled eggs in the microwave.

Oooh I liked that idea. A cup, a fork, no fuss, no muss. It was easy. And good!

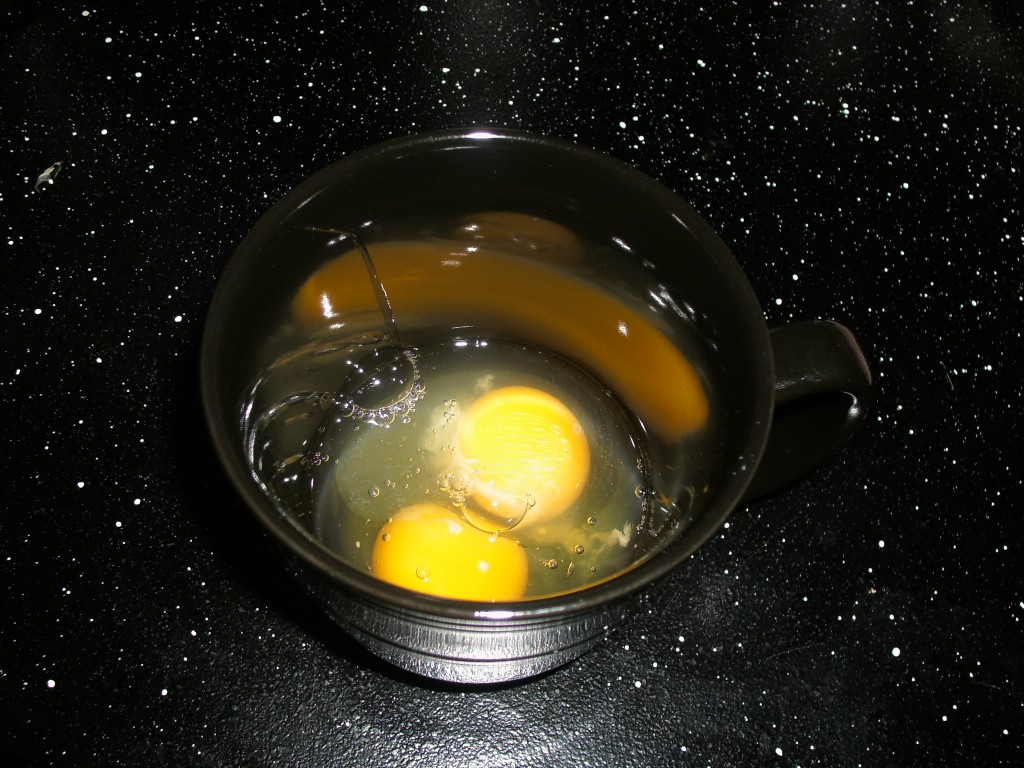
I took two eggs and cracked them into the mug.

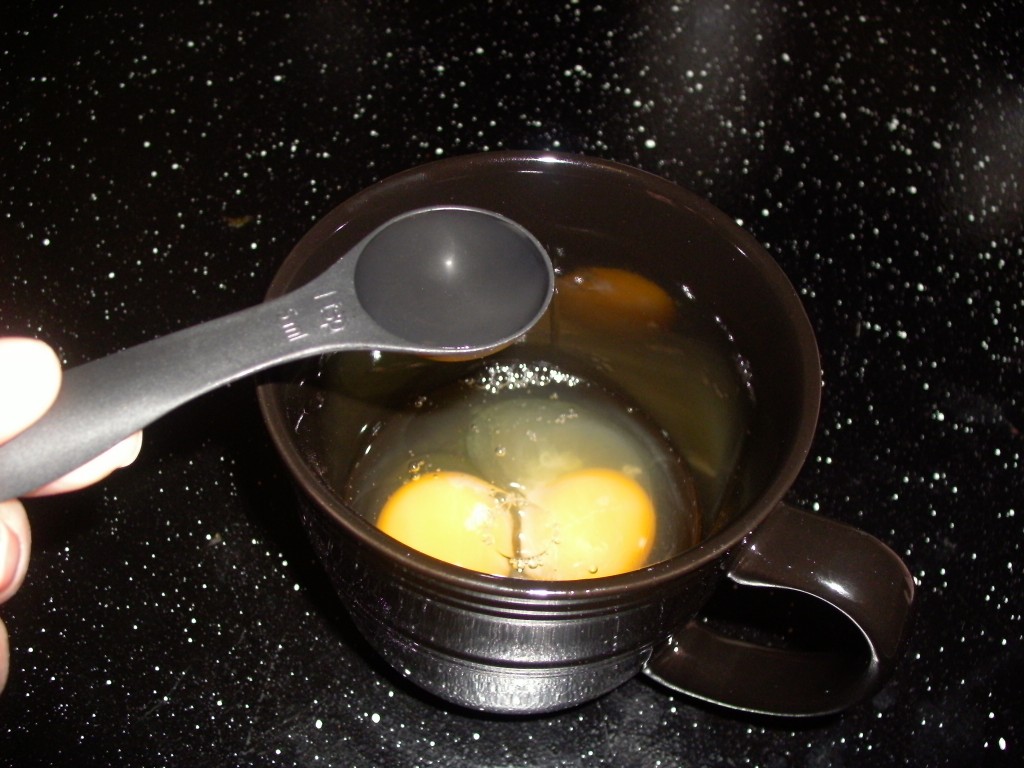
I added a tablespoon of water because I also don’t use milk which the recipe called for. I think you could leave this out altogether because I never make scrambled eggs with any additions when I make them on the stovetop. I think it just adds to the fluffiness of the end product.

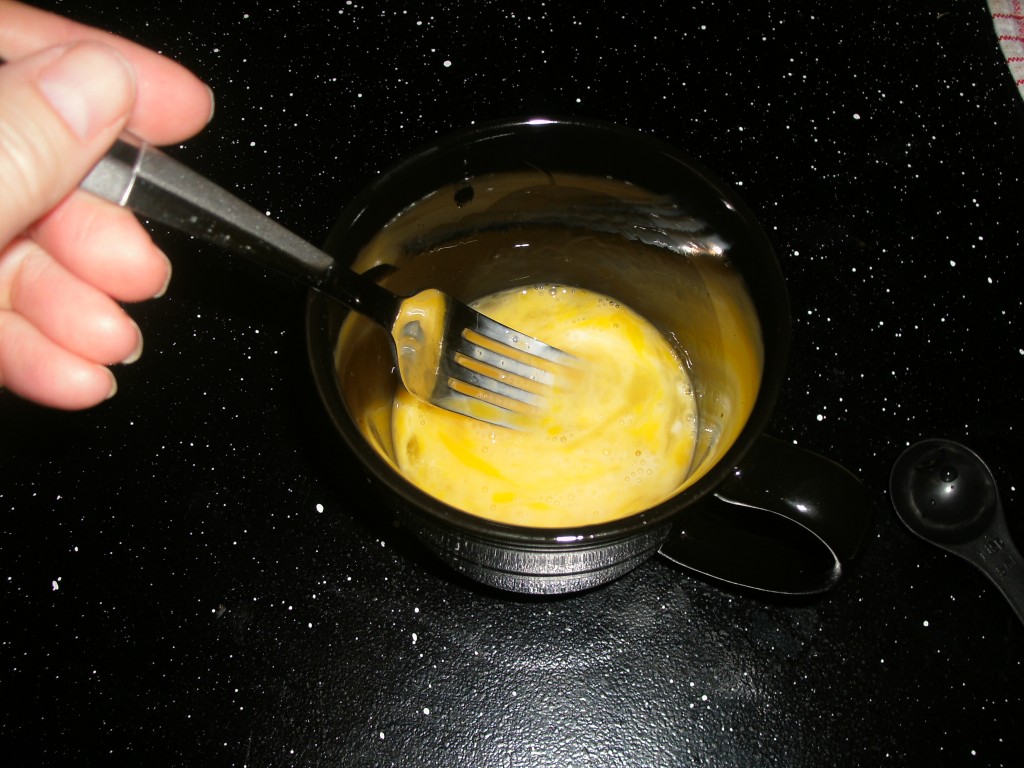
I whipped it all together with a fork.

Then I put it in the microwave for 45 seconds.

Took it out, stirred, and back into the microwave for another 45 seconds.

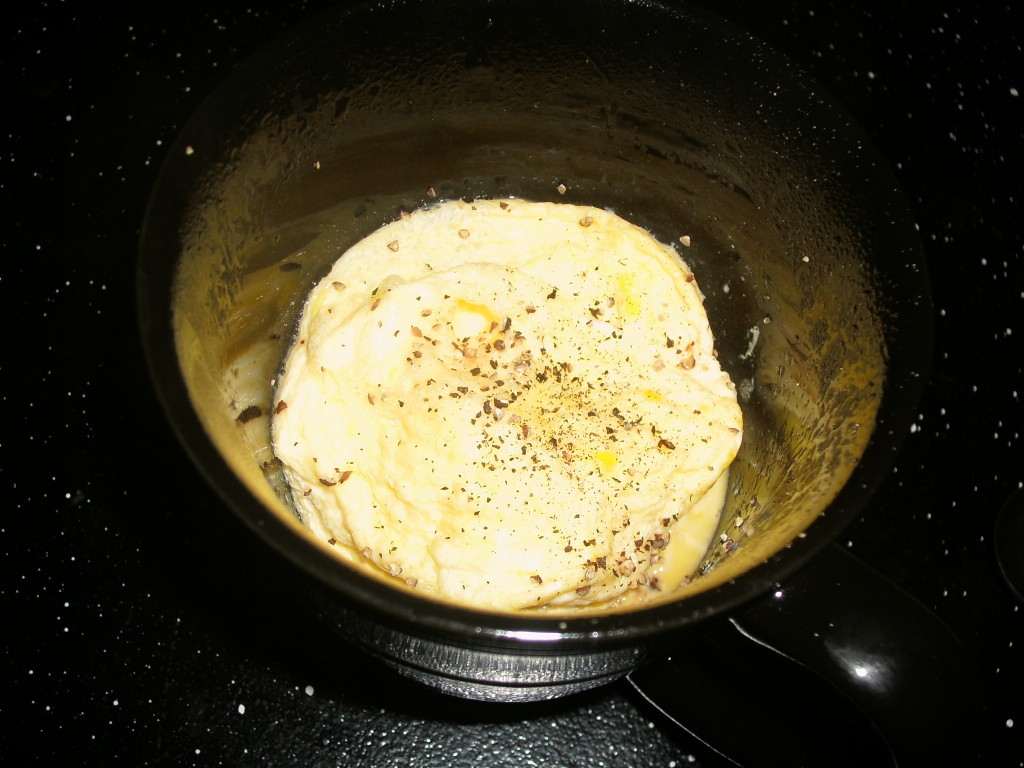
Voila! Puffy, scrambled eggs. Top with ground pepper and call it breakfast. I’ll be making this again for sure. 🙂

Daring Bakers Challenge: Basic Scones a.k.a. Basic Biscuits

Audax Artifex was our January 2012 Daring Bakers’ host. Aud worked tirelessly to master light and fluffy scones (a/k/a biscuits) to help us create delicious and perfect batches in our own kitchens!

I can’t remember how I stumbled upon the Daring Baker’s website. I think it was probably via Pinterest since that’s how so much of what I do starts anymore.

Anyway, my immediate thought was, “I want to be a daring baker!”.

So I signed up and waited, rather impatiently for January 1st and the new challenge to be released.

I was excited to see that it was Basic Scones or Basic Biscuits as we know them here in Oklahoma.

We have had our share of biscuits over the years but guess what? I’m not the biscuit maker! David is. So this was my chance to give it a whirl.

It was really easy to do and I was thrilled with the way they turned out. I think it took longer for me to read through the extended challenge instructions than it took for me to have four delicious biscuits steaming on a plate.

I did follow the instructions to achieve a layered effect by folding the dough over on itself several times. I also rested the dough in the refrigerator for about 10 minutes while the oven was preheating and I rubbed the butter as small as I could get it.

I ended up with beautiful, tall biscuts that were crispy on the outside and super soft on the inside. Delicious!
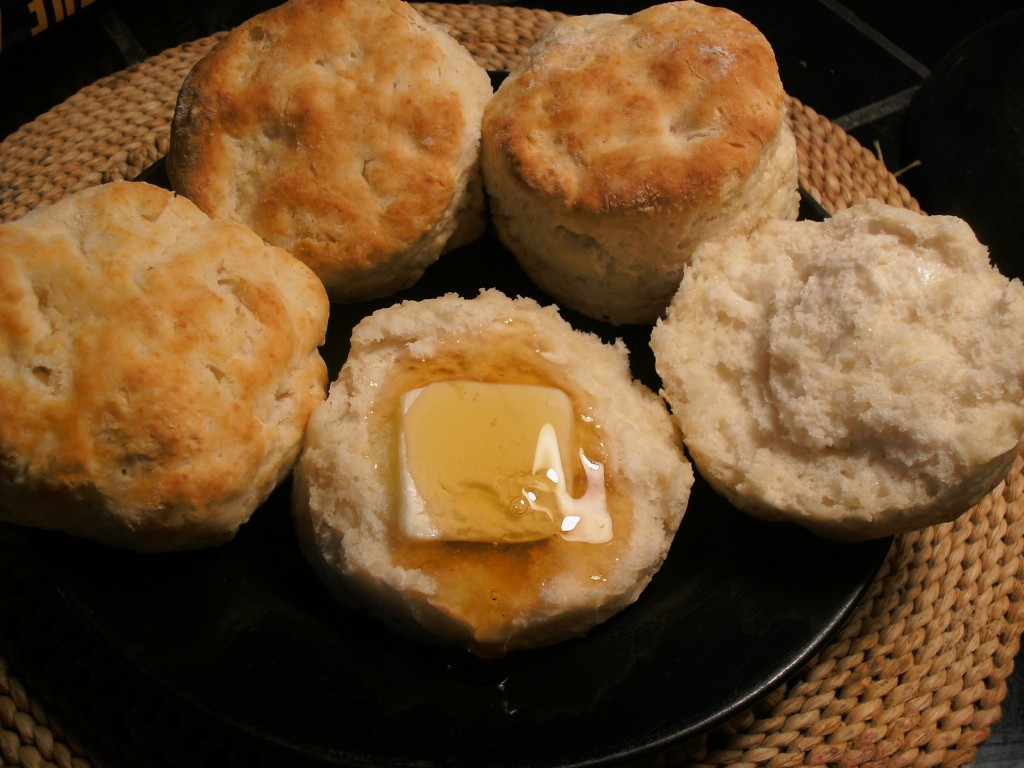
Here’s the recipe:

Basic Scones (a.k.a. Basic Biscuits)

1 cup (240 ml) (140 gm/5 oz) plain (all purpose) flour

2 teaspoons (10 ml) (10 gm) (1/3 oz) fresh baking powder

1/4 tsp (1 1/4 ml) (1 1/2 gm) salt

2 tablespoons (30 gm/ 1 oz) frozen grated butter (or a combination of lard/butter)

Approximately 1/2 cup (120 ml) cold milk

Optional 1 tablespoon milk, for glazing the tops of the scones

Directions

1. Preheat oven to very hot 475°F/240°C/gas mark 9.

2. Triple sift the dry ingredients into a large bowl. (If your room temperature is very hot refrigerate the sifted ingredients until cold.)

3. Rub the frozen grated butter (or combination of fats) into the dry ingredients until it resembles very coarse bread crumbs with some pea-sized pieces if you want flaky scones or until it resembles coarse beach sand if you want tender scones.

4. Add nearly all of the liquid at once into the rubbed-in flour/fat mixture and mix until it just forms a sticky dough (add the remaining liquid if needed). The wetter the dough the lighter the scones (biscuits) will be!

5. Turn the dough out onto a lightly floured board, lightly flour the top of the dough. To achieve an even homogeneous crumb to your scones knead very gently about 4 or 5 times (do not press too firmly) the dough until it is smooth. To achieve a layered effect in your scones knead very gently once (do not press too firmly) then fold and turn the kneaded dough about 3 or 4 times until the dough has formed a smooth texture. (Use a floured plastic scraper to help you knead and/or fold and turn the dough if you wish.)

6. Pat or roll out the dough into a 6 inch by 4 inch rectangle by about ž inch thick (15Ÿ cm by 10 cm by 2 cm thick). Using a well-floured 2-inch (5 cm) scone cutter (biscuit cutter), stamp out without twisting six 2-inch (5 cm) rounds, gently reform the scraps into another ž inch (2 cm) layer and cut two more scones (these two scones will not raise as well as the others since the extra handling will slightly toughen the dough).  Or use a well-floured sharp knife to form squares or wedges as you desire.

7. Place the rounds just touching on a baking dish if you wish to have soft-sided scones or place the rounds spaced widely apart on the baking dish if you wish to have crisp-sided scones. Glaze the tops with milk if you want a golden colour on your scones or lightly flour if you want a more traditional look to your scones.

8. Bake in the preheated very hot oven for about 10 minutes  (check at 8 minutes since home ovens at these high temperatures are very unreliable) until the scones are well risen and are lightly coloured on the tops. The scones are ready when the sides are set.

9. Immediately place onto cooling rack to stop the cooking process, serve while still warm.

This super easy and inexpensive treat will be a great addition to your table. Now go give it a whirl yourself. 🙂